1953 Rover P4 75
July 2019 - Fuel Tank
Return to Home
Return to Resources
Return to Rover P4 page
The original fuel tank was too far gone to be saved. It was made out of probably around 20 gauge thin sheet metal, spot welded and lead soldered together. The tank that came with this P4 had evidence of multiple repairs done over its lifetime attempting to seal holes with soldered on patches of metal. Reproduction tanks are available in the UK and I was especially interested in an aluminum tank because it does not have rust problems, but the cost of the tank plus shipping would have easily exceeded $1000. Even finding a good original tank and shipping from the UK to the USA was not a justifable expense either. After pricing out 5052 aluminum sheets and getting quotes from a few local welding shops, I ultimately decided to do a new steel tank myself using 16-gauge sheet metal. The old tank dimensions served as a template.
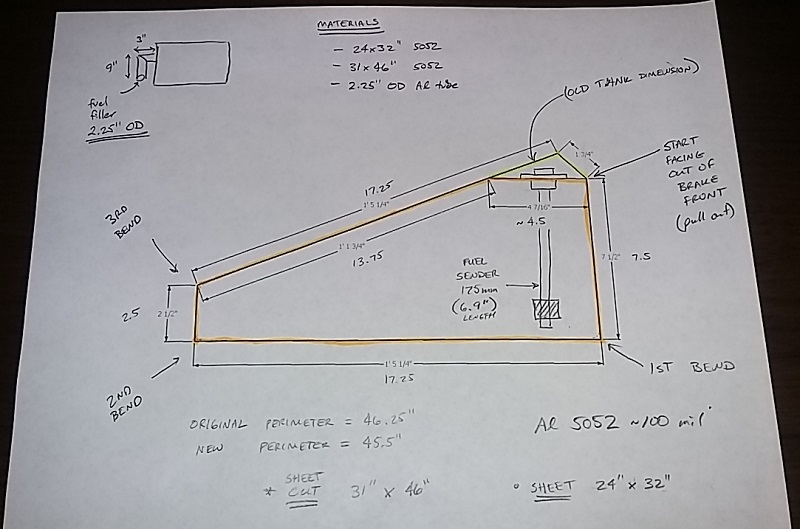
Drawing showing the dimensions of the old tank and the minor modification at the top of the tank to have a flat spot for the new pick up and sender. I did not want to replicate the original side-mounted sender or reuse the original pick up. The original sender used a cantilever arm, but the new sender is a 175mm length vertical float that uses a magnet inside the float to activate reed switches inside the float tube to select different resistance values for the gauge. The sender outputs 0 ohms empty and 180 ohms full, so it is calibrated with a 330 ohm resistor in parallel to reduce the range to 0-110 ohms like the original sender.
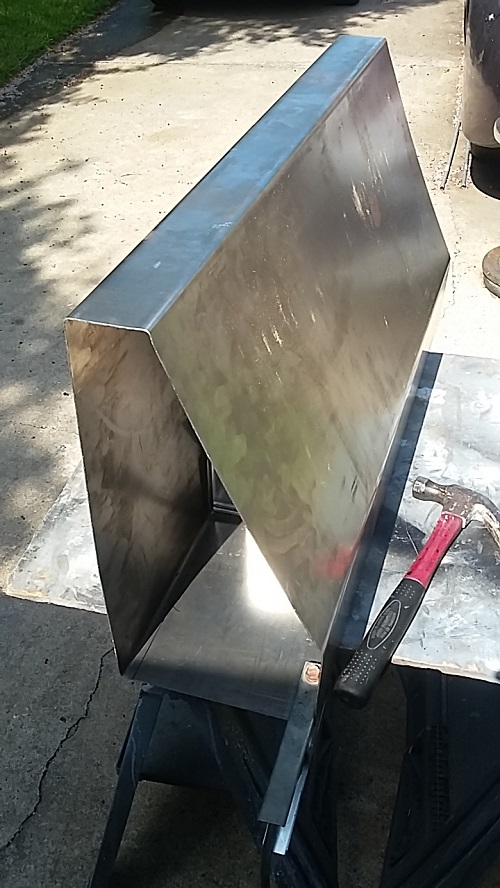
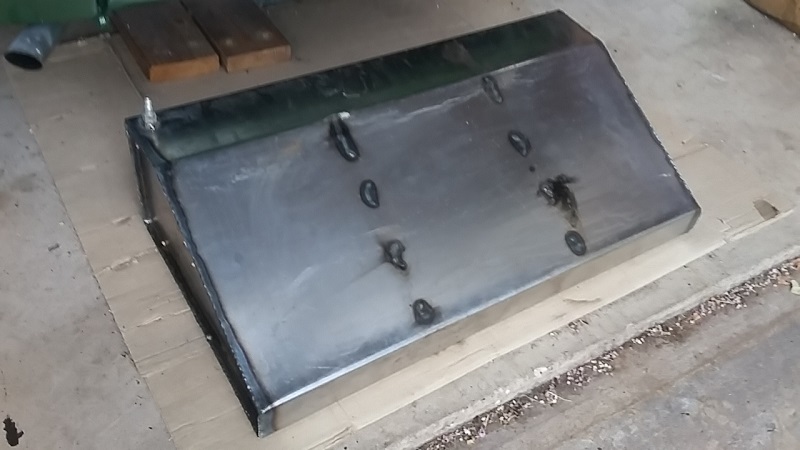
Sheet metal for the main tank body was bent on a good quality 36" Enco bending brake that I had purchased from a friend for $140.
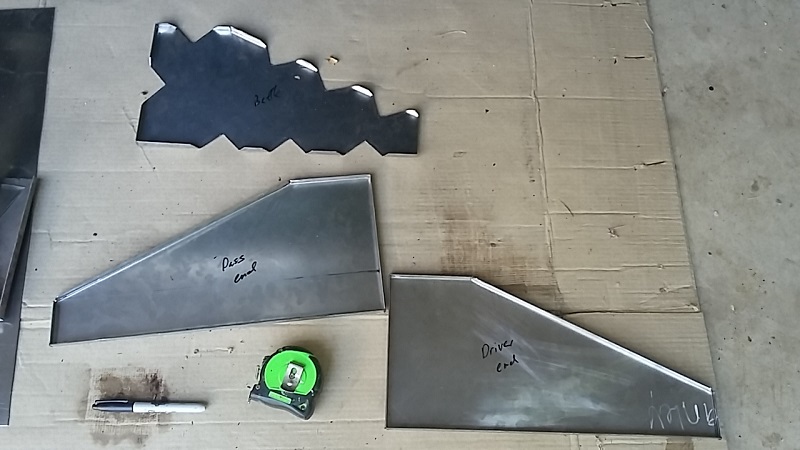
End caps and internal baffles were cut and flanged on the edges for welding.
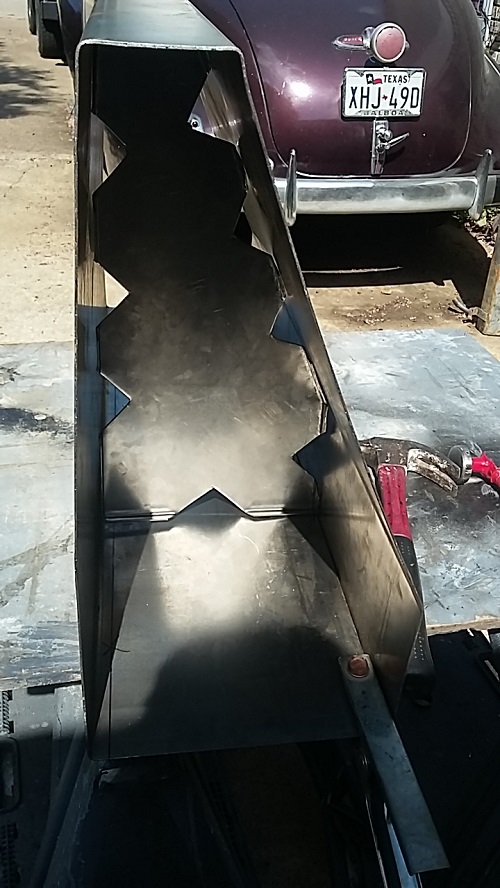
Welding in one of the two internal baffles.
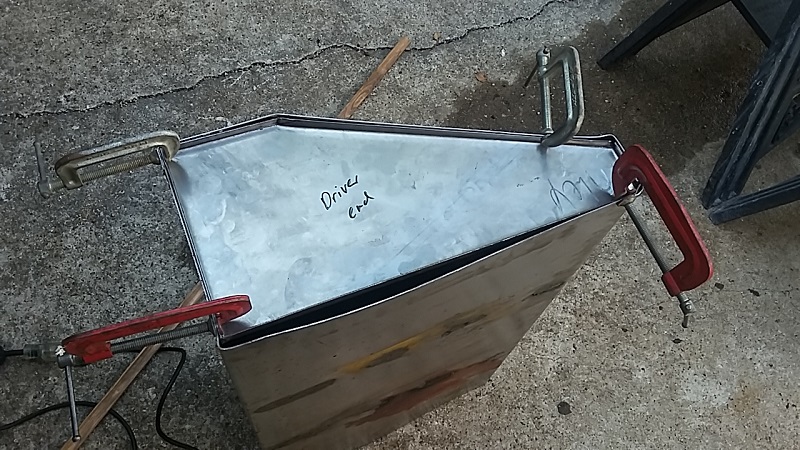
Fitting and securing the end cap for welding.
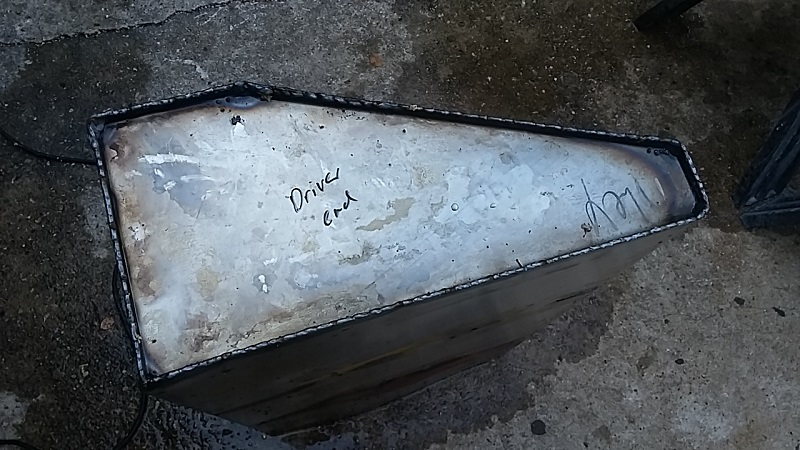
After welding the end caps and the seam for the main tank body, I welded on an air hose connector to pressure test the tank to 5 psi. Soapy water was sprayed on the weld beads and more welding was done to plug all pinholes that were found.

The main fill tube was fabricated out of a 2.25" diameter exhaust pipe and pressure tested with a temporary cap on the open end.
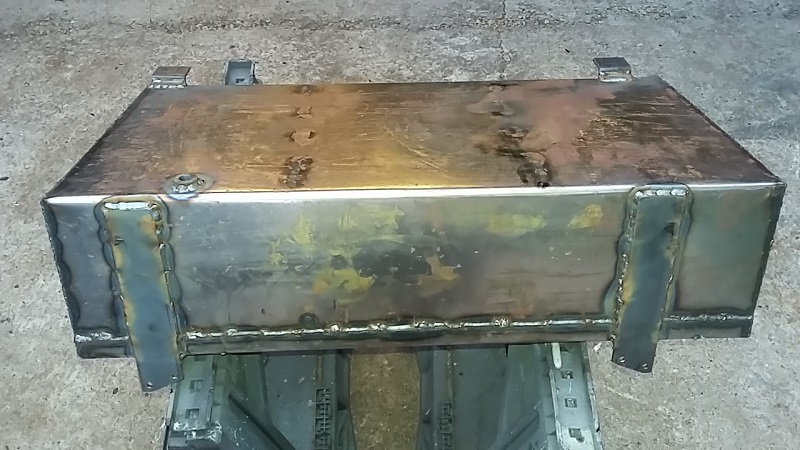
Mounting flanges were welded on after careful measuring and aligning to match the original tank. Also three weld-in bungs with NPT threads were installed for the drain nut, pick up tube and vent hose.
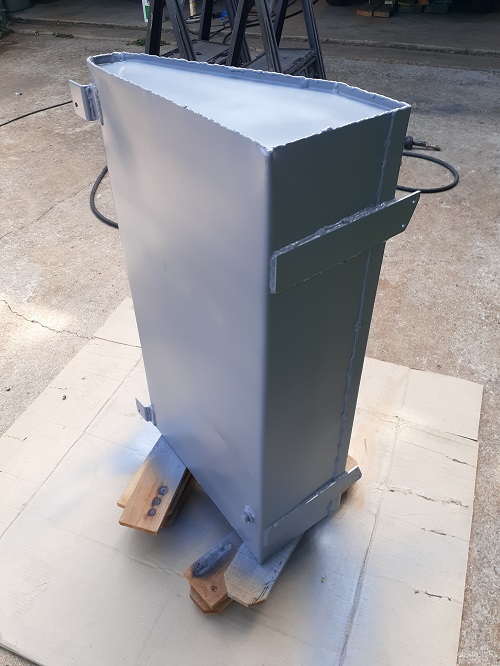
Epoxy primer applied on the outside. Before the outside was painted, the inside of the tank was cleaned with muratic acid and water followed by acetone and then Red-kote fuel tank liner to ensure no bare steel is exposed to minimize future rust issues. All openings were taped off and the tank liner was sloshed around and then allowed to cure for a few days before paint was applied to the outside.
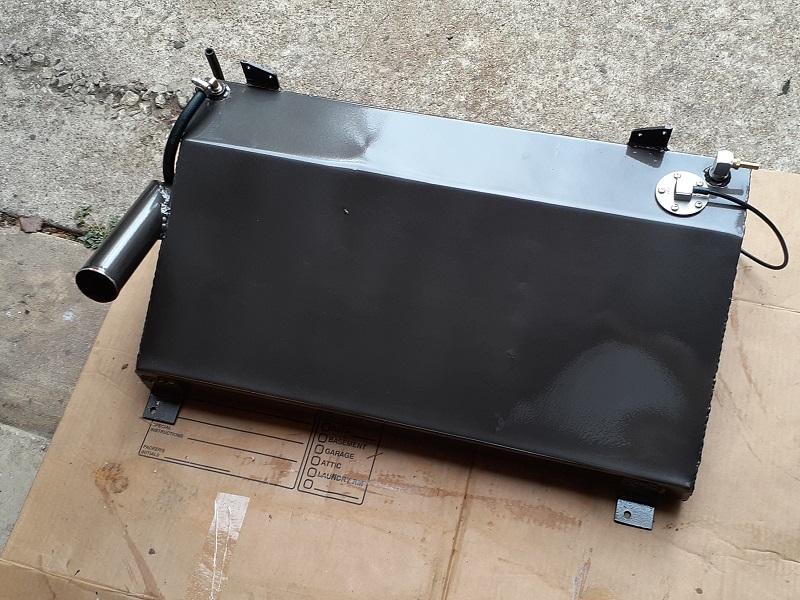
Dark gray single-stage urethane paint applied and all fittings installed!
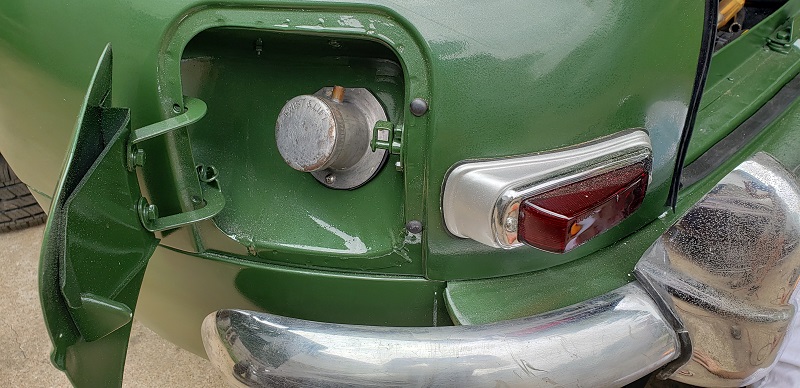
Tank is installed and ready for use.