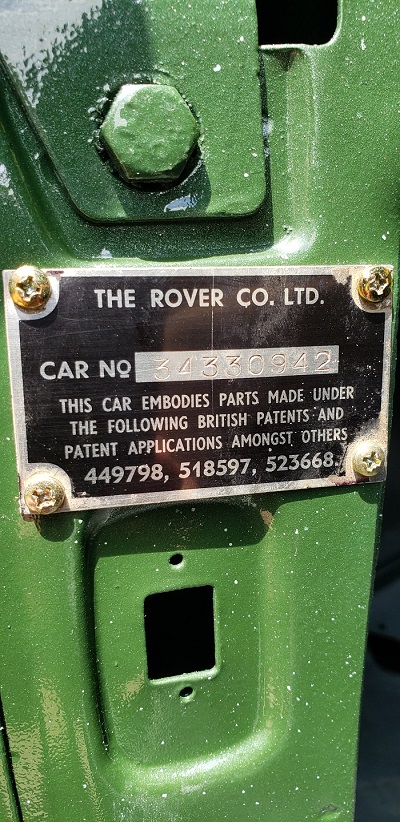
1953 Rover P4 75
May 2019 - Trim and windshield installation
Return to Home
Return to Resources
Return to Rover P4 page
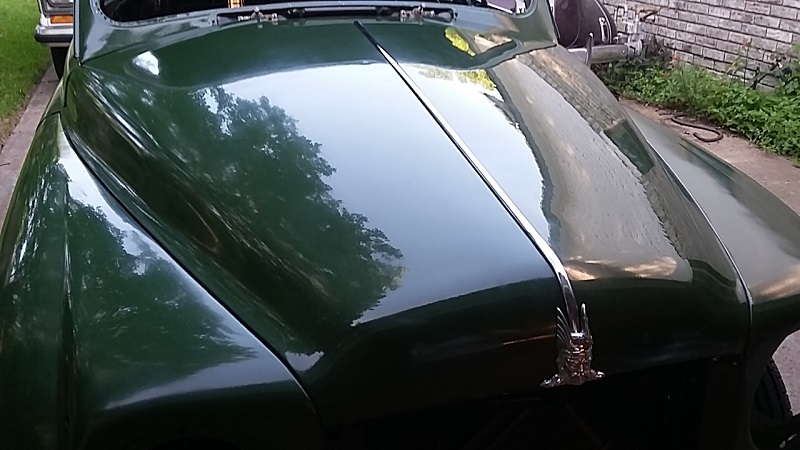
Wet sanded and polished hood. Trim and Rover viking mascot installed.
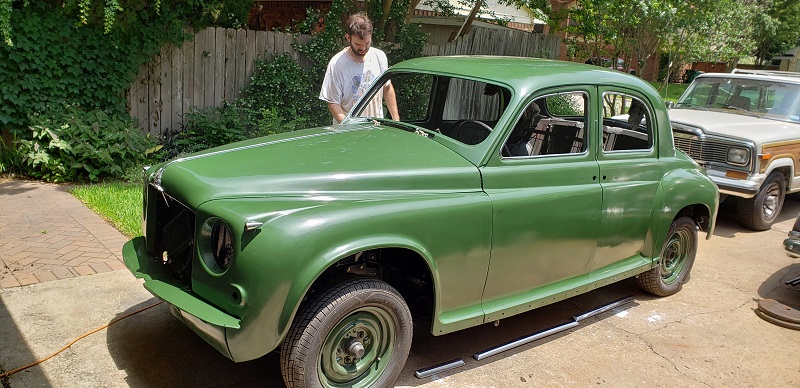
Rest of car after wet sanding and polishing.
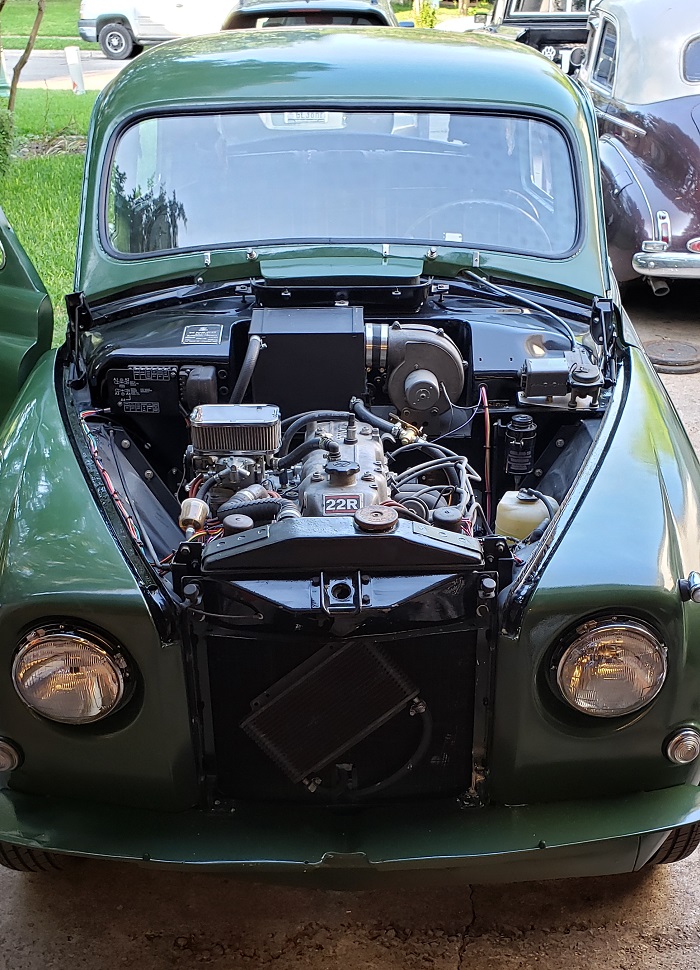
Installed headlights, side marker and turn indicator lights. The original units were in decent shape and only required some clean up. New rubber seals were ordered from JR Wadhams in the UK. The hood had to be removed to touch up paint around the edges of the engine compartment and mainly to sort out the scoop vent issue. The scoop vent hinges were stuck so the whole assembly was removed to clean and grease the hinges. Also having the hood out of the way made it much easier to install the control cables to the heater core box.

The headlight rims were originally painted the same color as the body in 1953. After stripping the old paint from the rims, we discovered they were brass and decided to clear coat instead of painting the rims.
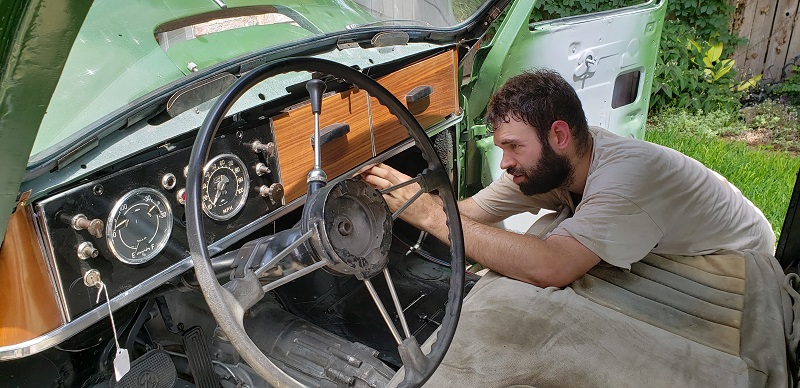
I'm reinstalling the climate control panel and the lower stainless trim on the dashboard.

Now the climate controls are mechanically functional and the scoop vent moves as it should.
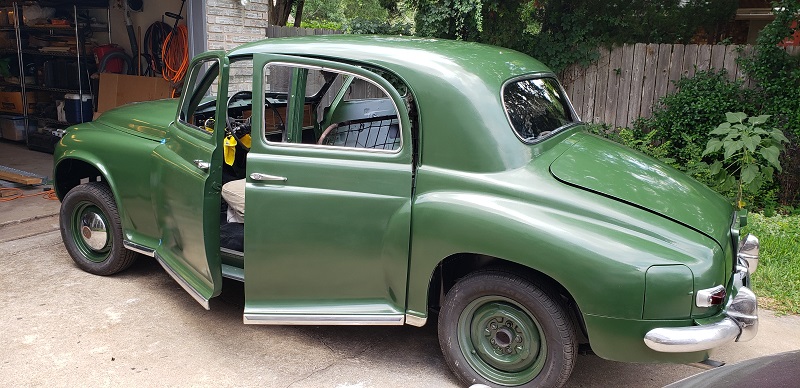
Installed stainless steel trim on the bottom of the doors and body. Also installed the rear tail lights with original glass lenses from Mike Evans in the Rover P4 Drivers Guild group to replace the damaged ones that came with the P4 when I bought it.
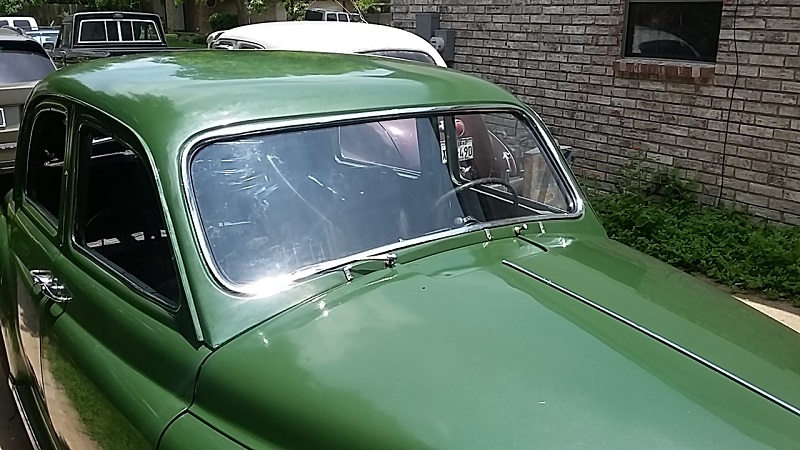
Front windshield with new seals from JR Wadhams in the UK and chrome trim reinstalled.
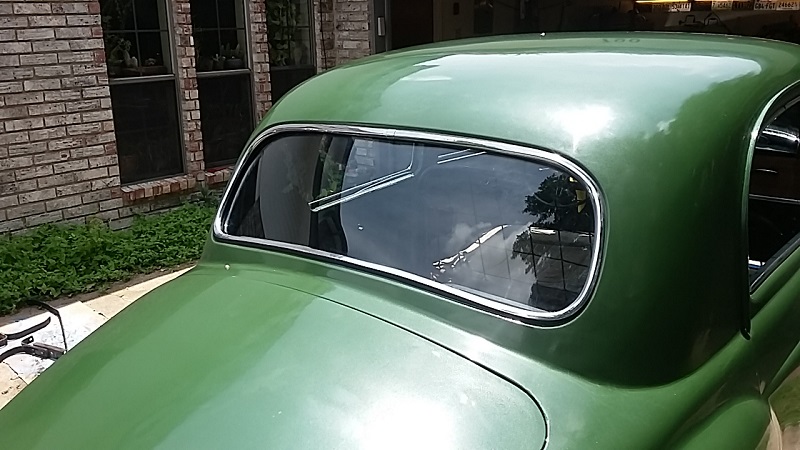
Rear window with new seals and chrome trim reinstalled.