1953 Rover P4 75
January 2019 - Brakes, column shifter and finished body reassembly
Return to Home
Return to Resources
Return to Rover P4 page
Brakes
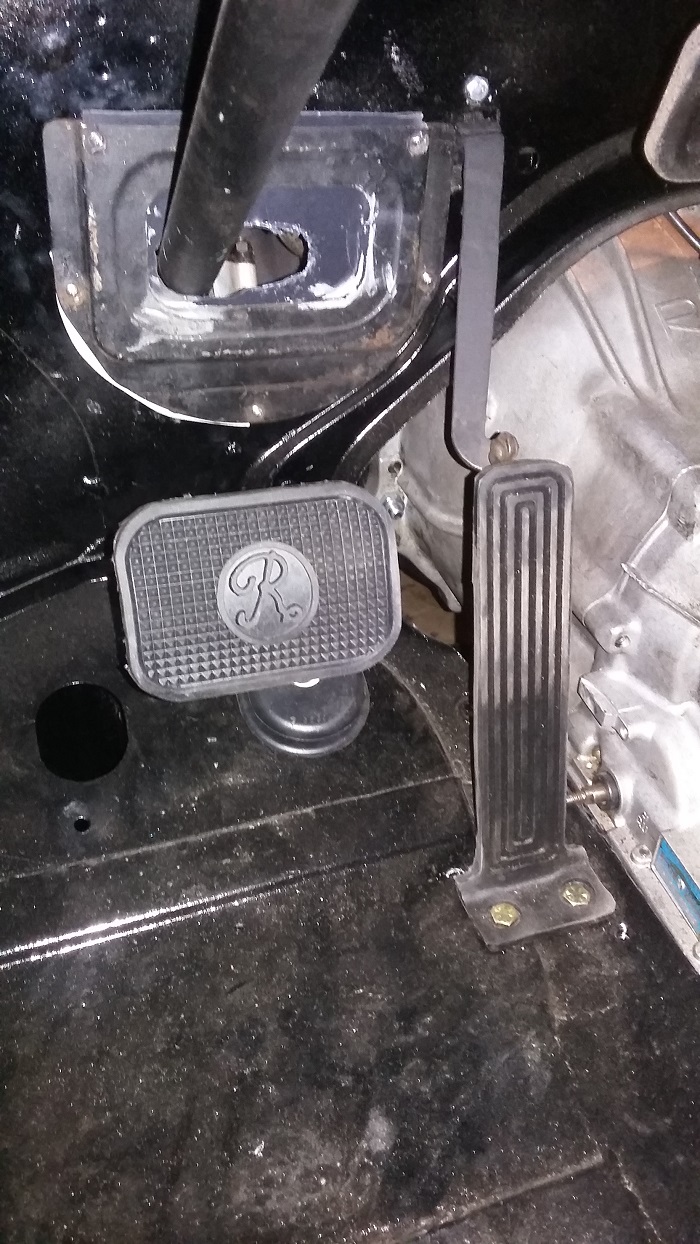
I replaced the brake pedal with a reproduction normally meant for a P5 automatic. It looks nicer than the non-original one that came with this P4 when I got it. It also made more sense than going back to the teeny tiny original P4 brake pedal. There is no longer a clutch pedal so there is no need to maintain the small P4 pedal.
At this time far into the rebuild, I finally decided to proceed to fill the brake fluid reservoir with DOT3 fluid and bleed the system. Unfortunately, just about all the cylinders leaked within hours despite my best attempts to rebuild them all with new rubber parts. The reservior ended up completely empty within a day. I decided it was going to be a waste of my time to hunt down and fix all leaks. Ultimately it is not worth risking my life driving a car with badly leaking brakes so I shelled out for all new brake master and slave cylinders. I ended up having to take every single wheel apart and replace the cylinders, but it turned out to not be as bad as I anticipated and took about 4 hours. I guess after you have done it once, you know how to do it again quickly. And not to mention having to crawl under the car to replace the master cylinder. It sure was much easier when there was no body in the way!
Column shifter
This 1953 P4 originally had a manual column shifter. Rover had switched to floor shift in the 1954 and onward model years. As I wrote in August 2018 about the transmission cover, I suspect that it may have been possible this P4 was converted to use a later model floor shift before the entire drivetrain was ultimately replaced with the Toyota. So the original column shifter was missing and I did not like the 1980s Toyota automatic transmission gear selector that came with the P4 when I bought it. I spent quite a bit of time researching for part sources and found Richard Hedger in the UK who stocks many salvaged Rover P4 parts. I acquired a complete column shifter mechanism from Richard to finish building an authentic and original looking gear selector for the Toyota automatic transmission.
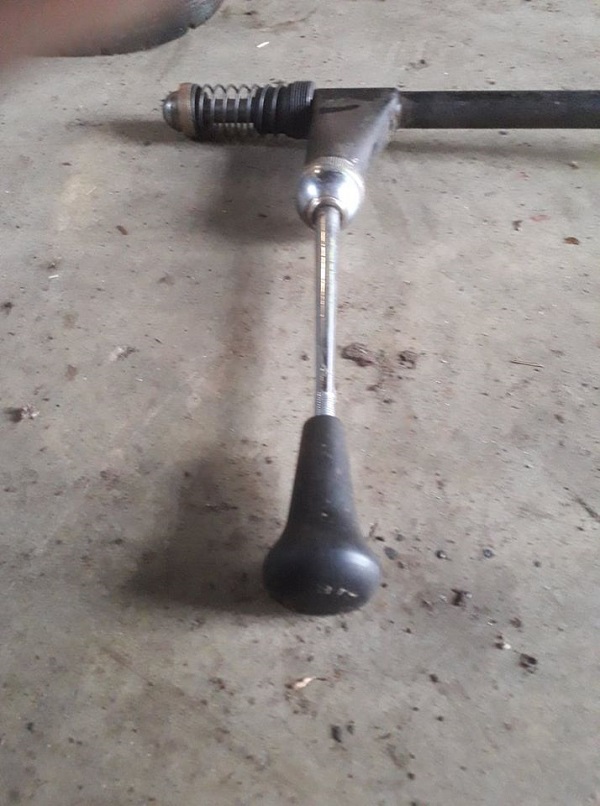
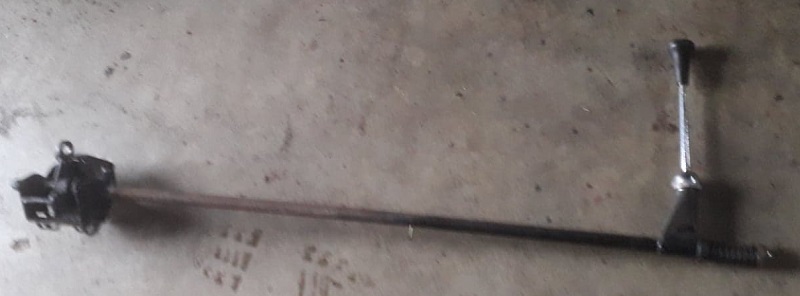
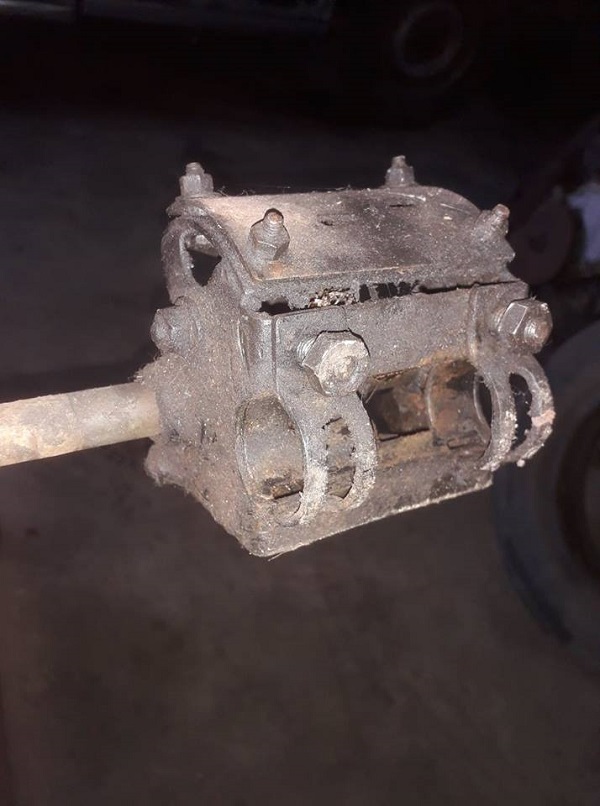
Gear selector assembly as it was sent from the UK last December. It was pretty dirty and greasy at first. It was all sand blasted last month and repainted before installation.
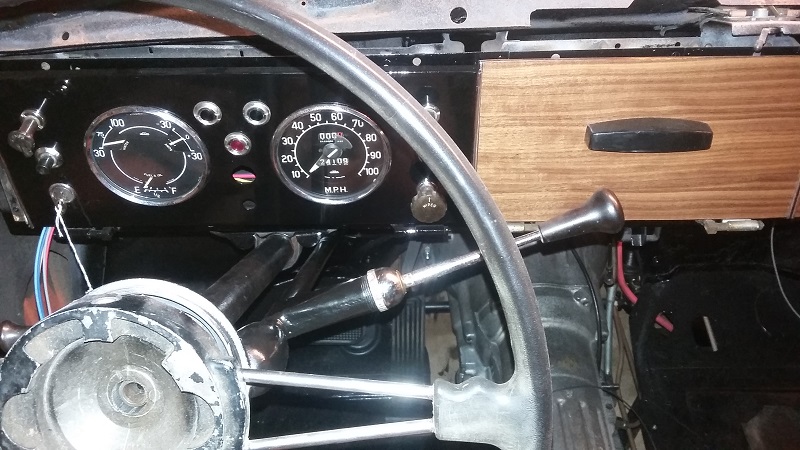
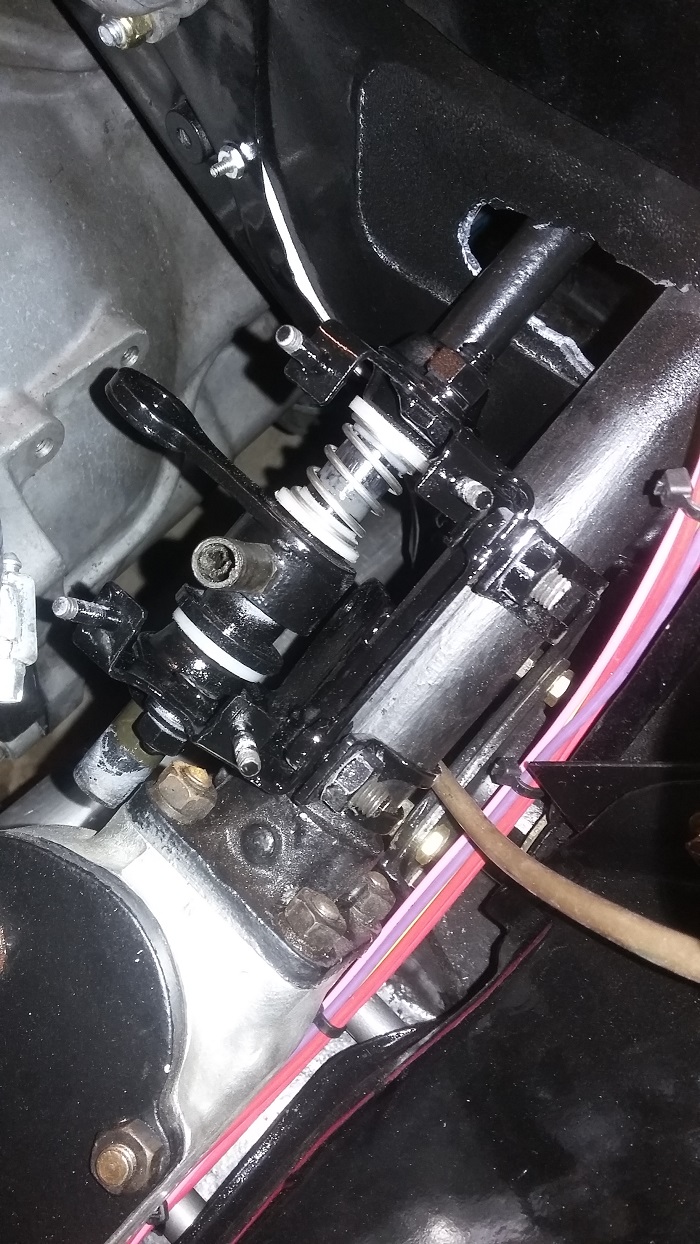
The gear selector box mounts on the steering column just above the steering gear box. The original gear selector had a detent plate that covered what you see in this photo to hold the selector in one of the 4 gear positions (3 forward or reverse). I removed it and installed a spring to push the gear rod down so you'd have to pull it back slightly to change gears just like a modern car. I plan to fabricate a new detent plate with teeth to ensure the gear selector stays locked in place and is allowed to shift when you pull back on the selector arm and move it up or down. This is a safety feature to ensure gears can't be changed if you hit a pot hole or accidentially hit the gear selector arm while driving.
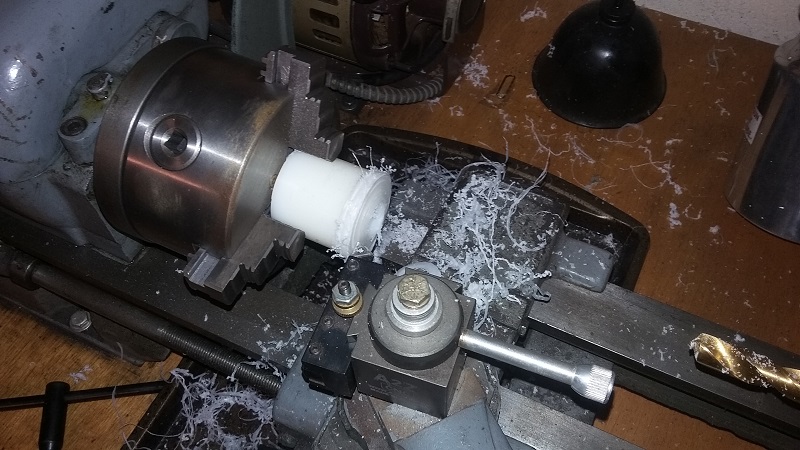
I used my small 1950s Craftsman 101 lathe to turn custom bushings out of nylon for the gear selector linkages.
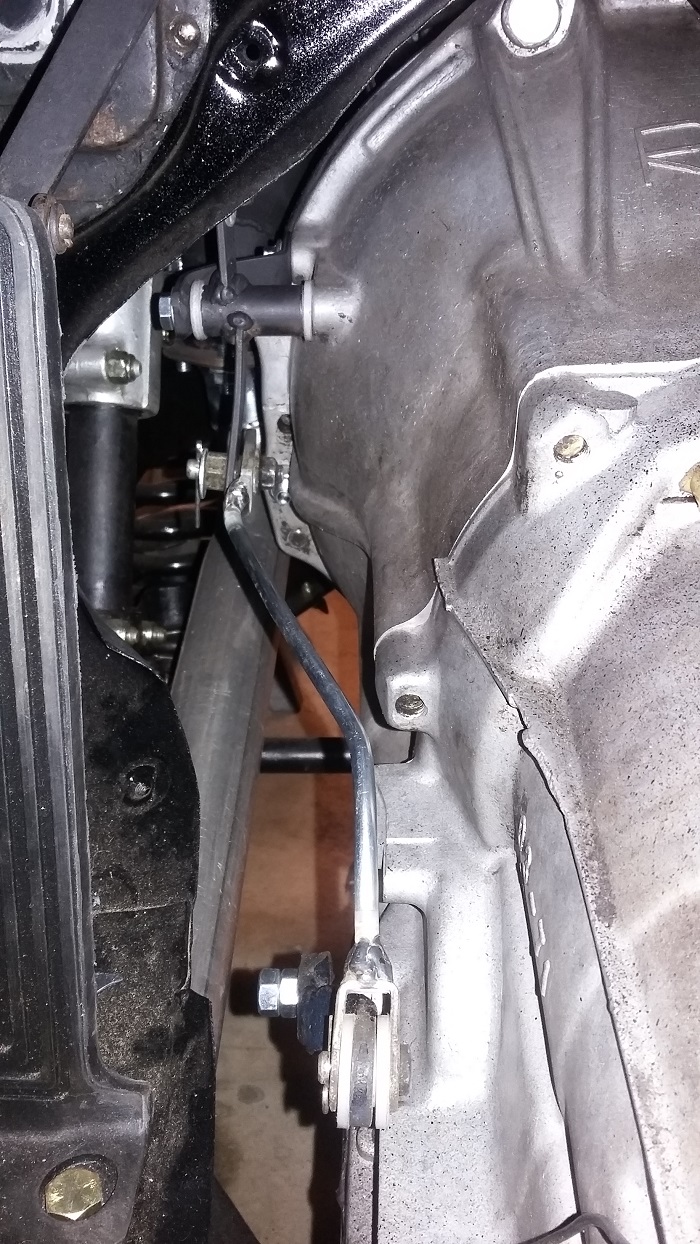
New linkage from transmission selector to custom bell crank.
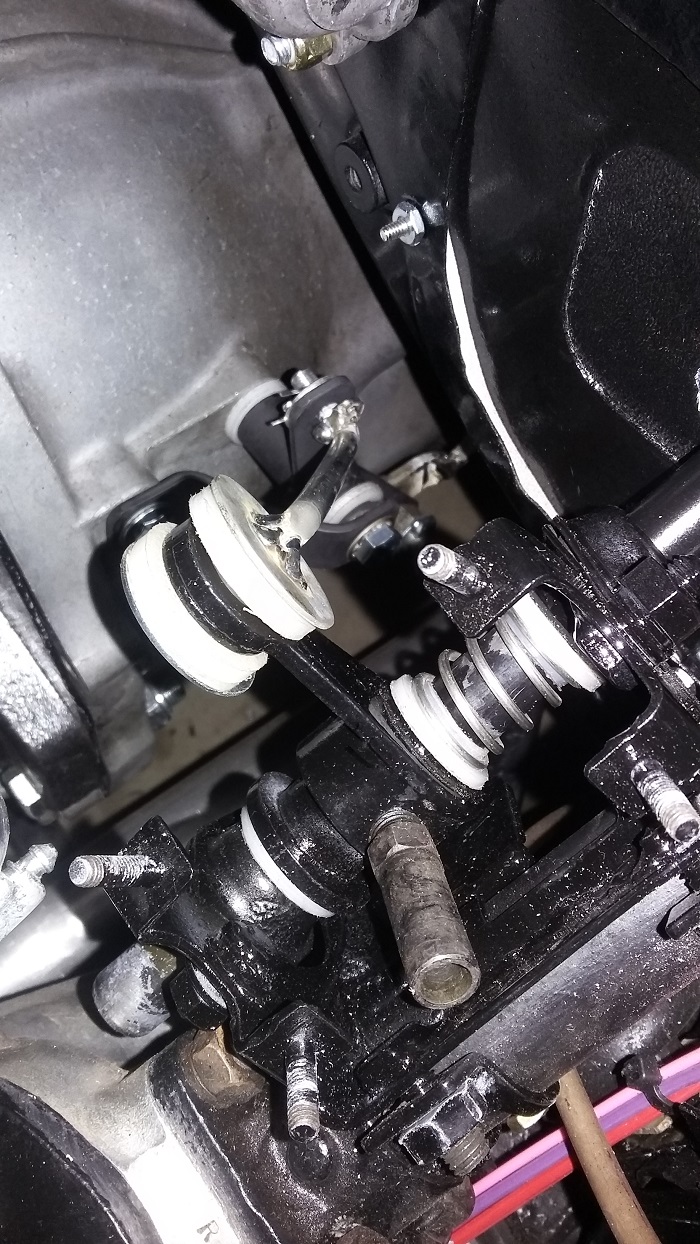
Linkage from the column shifter box to the custom bell crank mounted on the side of the transmission using existing holes that were present.
Finished body reassembly
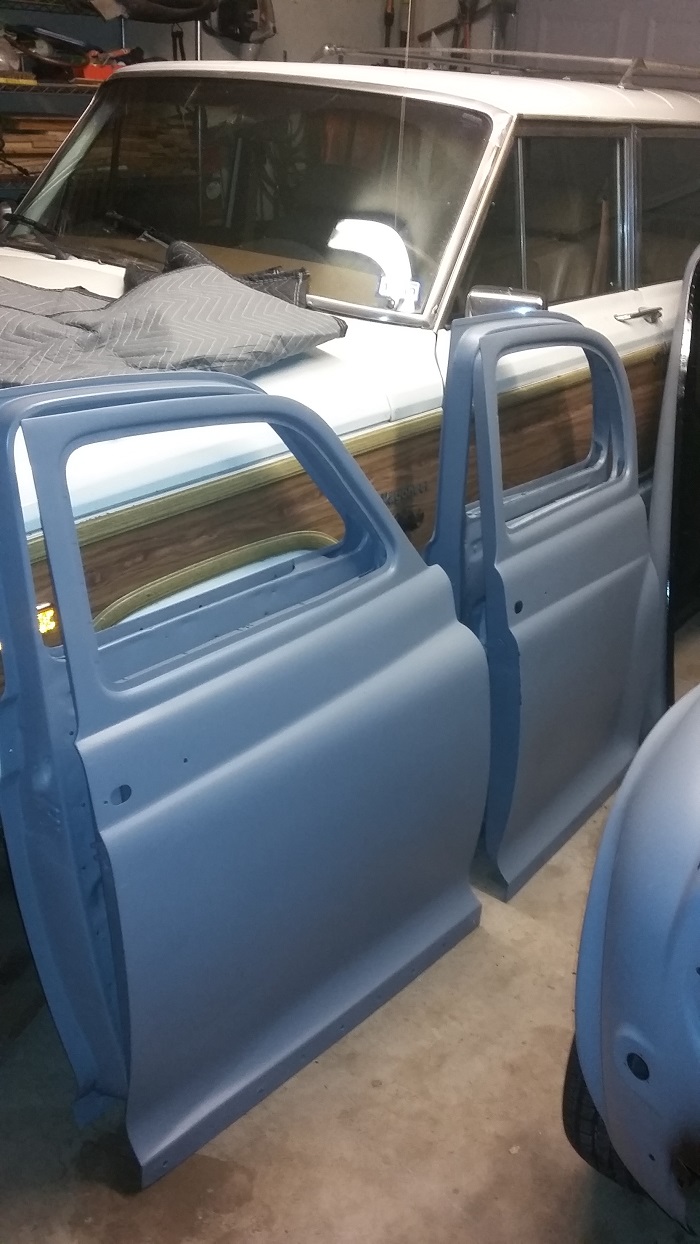
Applied epoxy primer to all the doors inside and out.
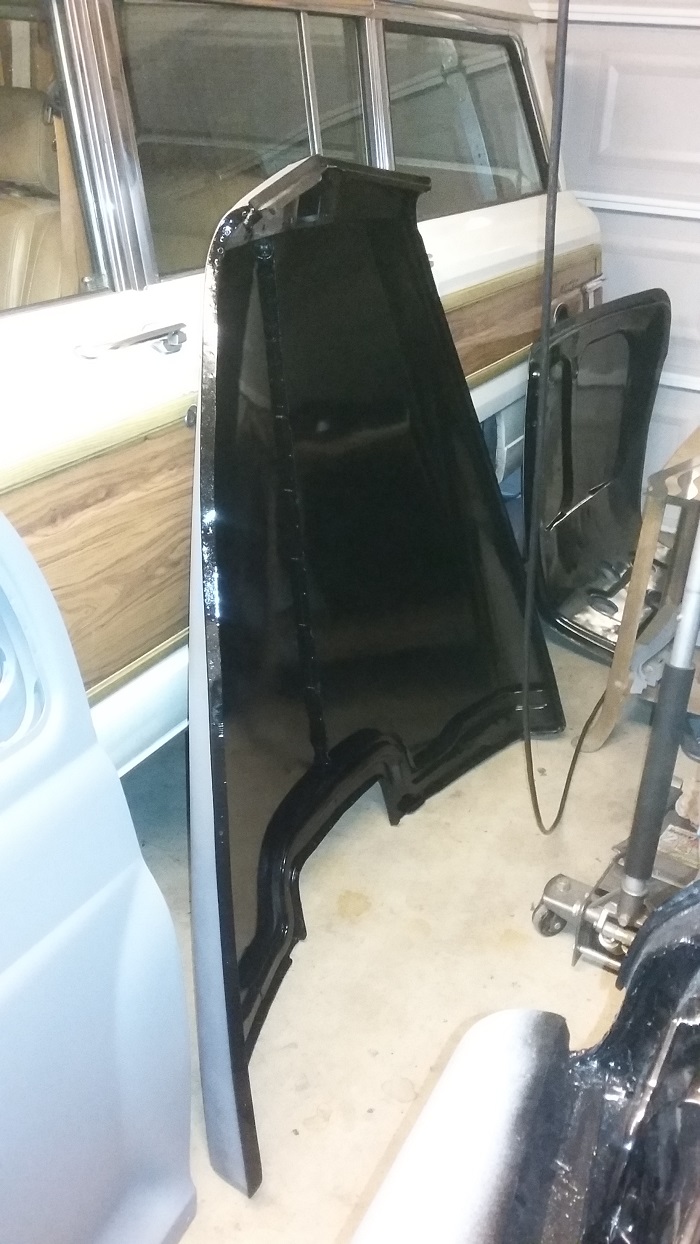
Hood and trunk received a coat of epoxy primer and the inner portion was painted with a couple coats of black single stage urethane before going back on the body.
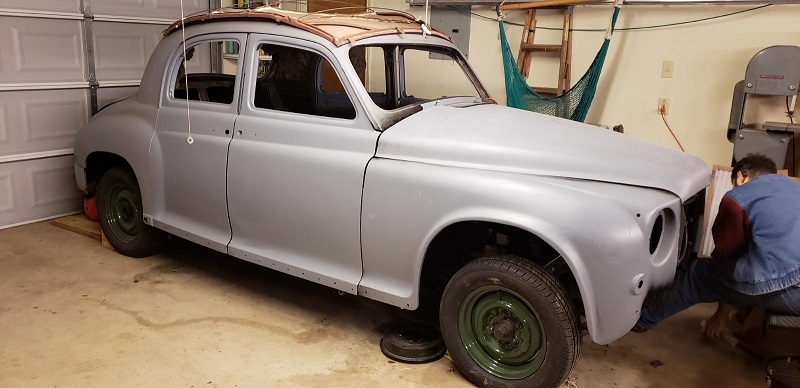
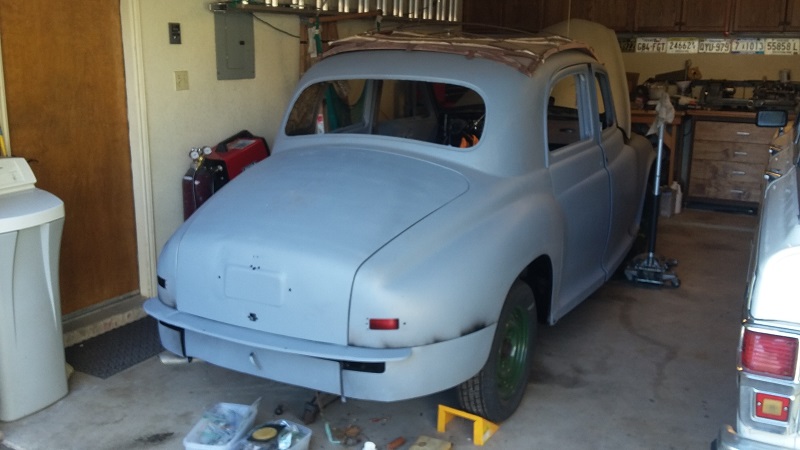
First view of the car with just about all the body parts back together and ready for further bondo and paint steps done at a proper professional paint booth where I won't poison myself with nasty fumes. I plan to tow the P4 to a local high school that I have good relations with and use their professional paint booth that they have for their auto body class.