1953 Rover P4 75
July 2018 - New exterior color and wheels
Return to Home
Return to Resources
Return to Rover P4 page
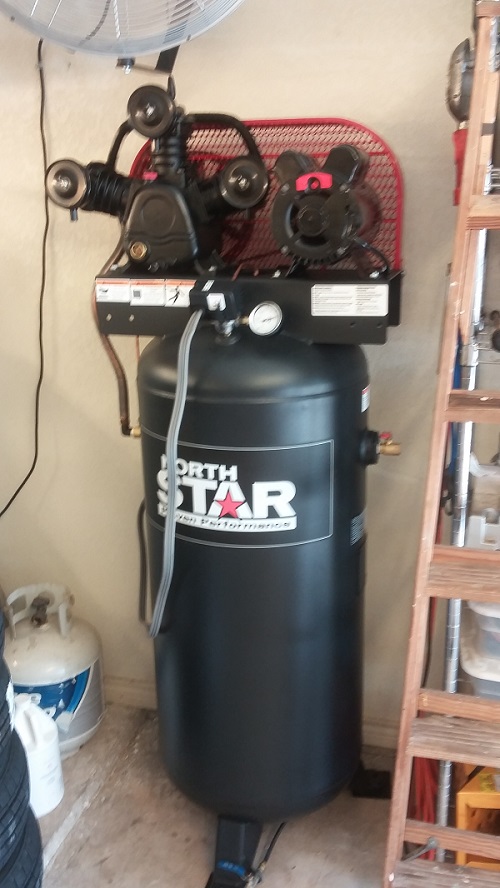
I initially tried using a small 1HP Sears Craftsman air compressor that generated about 4 CFM for sand blasting the wheel rims. It turned out to be utterly worthless for driving a small Harbor Freight 20lb abrasive blaster. The media blaster didn't even make a dent in the thick old paint on the wheel rims. I ultimately decided to not only upgrade but upgrade big to a 15+ CFM compressor from Northern Tools. Progress on the P4 was delayed for about a month until the compressor was delivered and set up in the garage. What you see here is the compressor set up in a corner of the garage with its own 240V service that I wired in from the garage electrical subpanel. It isn't bolted down to the floor and each of the 3 feet sit on a small thick rubber mat. This compressor stays stationary and doesn't walk around. I would like to install some kind of intercooler so the hot compressed air is cooled and dried before entering the tank. There's a lot of humidity in Texas! But for now, I put a water separator on the output of the tank and use disposable moisture desiccant filters at the inlet of the air tools.
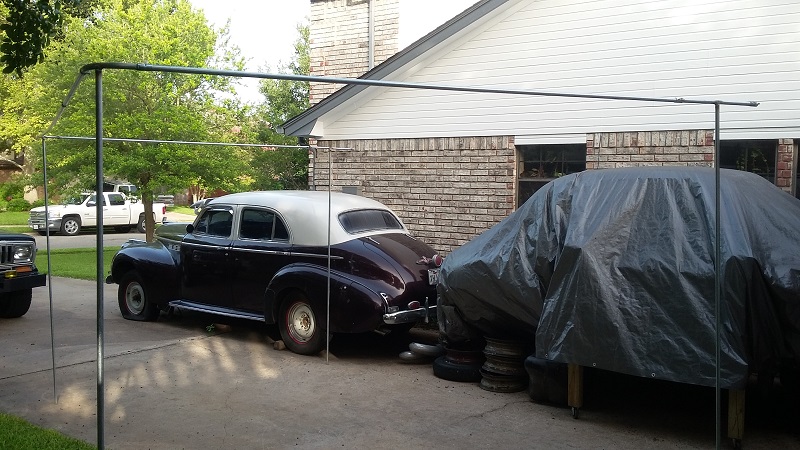
Frame for the DIY sand blast and spray paint booth made from steel electrical conduit. The corner pieces were welded to the vertical supports. The horizontal pieces are removable so the whole thing can be easily assembled or disassembled. Notice the 1940 Buick Super 8 in the background, that's the gem that started this whole insanity with practicing on - I mean, restoring - the Rover.
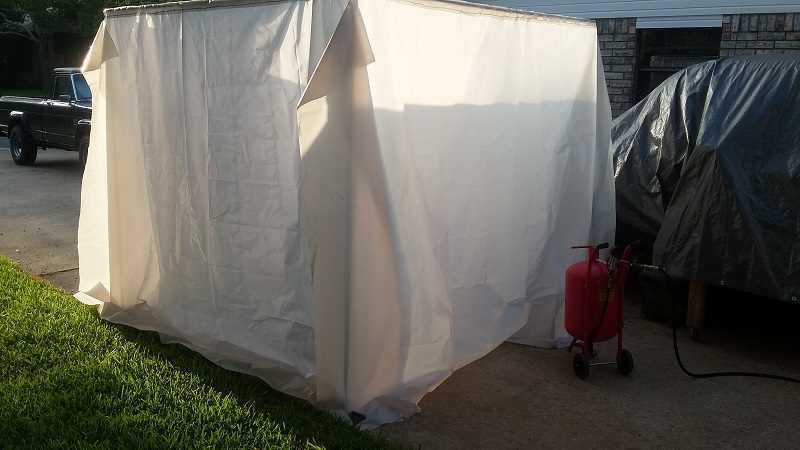
Plastic tarp attached to the steel frame to complete the booth. The top remains open.
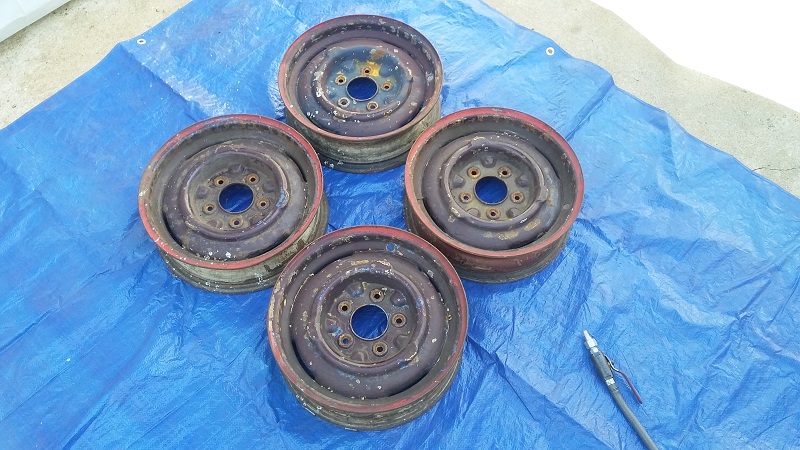
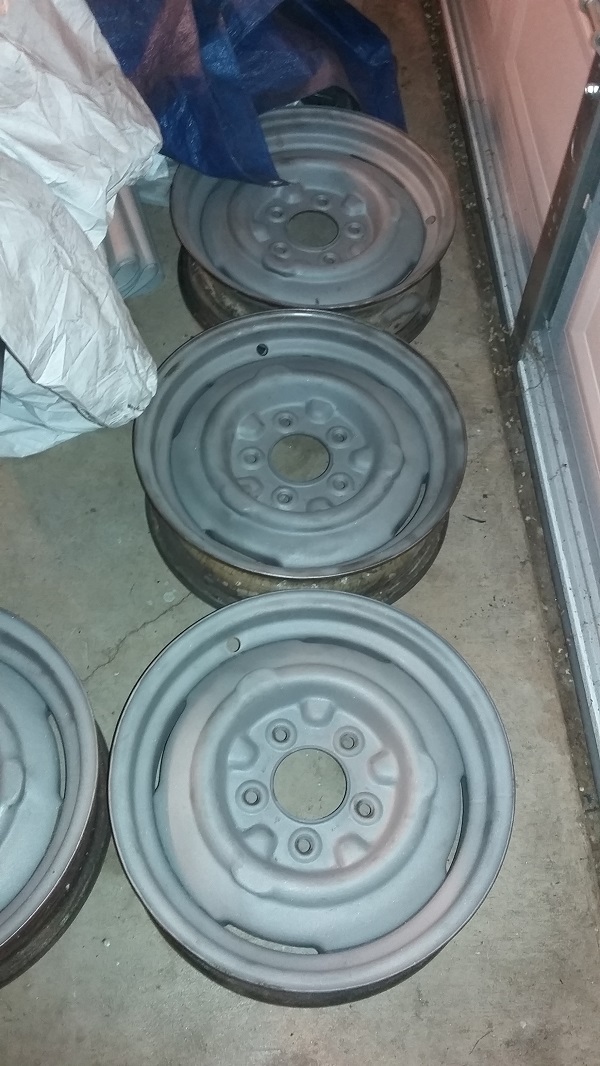
Both the front and back side of the rims were stripped.
Sand blasting worked out nicely and I learned several things. First and foremost, it's a dirty job and I would avoid doing any more of this if possible. Wear a full body suit and high quality 3M mask. Even with a 15 CFM compressor providing air at 70 PSI, blasting away thick paint is a very tedious and slow process. What takes up a lot of time is going back to sweep up the media, sift and filter it, and then reuse. If you live on a farm and don't care about reusing the media, then it's probably much easier and less of a hassle. Finally, because sand blasting with my set up was a slow process, I opted to wire wheel as much of the paint off the rims before sand blasting. This is the method I ultimately used for the body so it wouldn't take forever to sand blast. Overall I can now check that box that I have experienced sand blasting, and I would not do it again after I'm done with the P4.
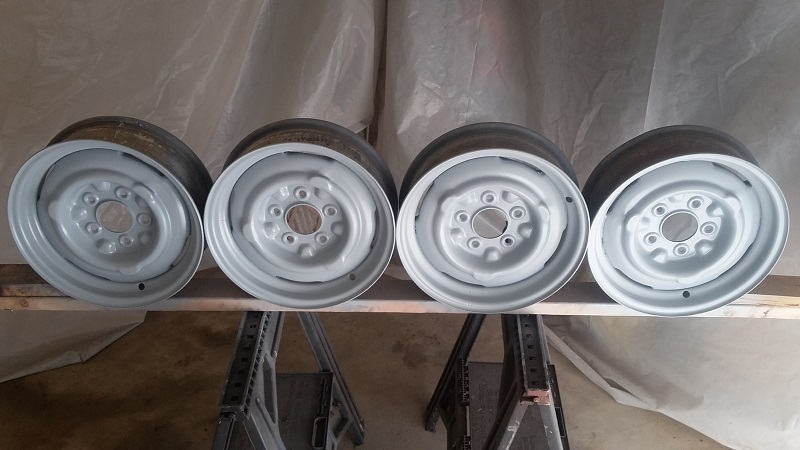
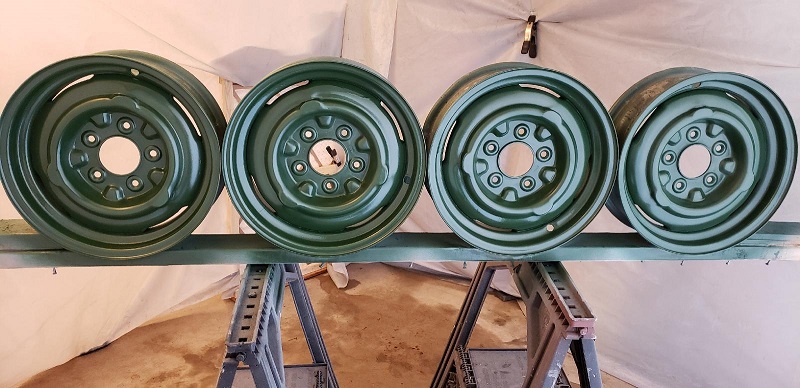
Primed and painted in the same plastic booth. After this experience, I decided it's much safer and easier to paint in a proper paint booth. I couldn't see myself painting the whole car in my garage without dealing with ventilation and lighting issues. For the rest of the whole car body, I decided my approach will be to spray the first layer of primer outside and then take it to a local high school auto body class to use their booth for the remaining paint steps.
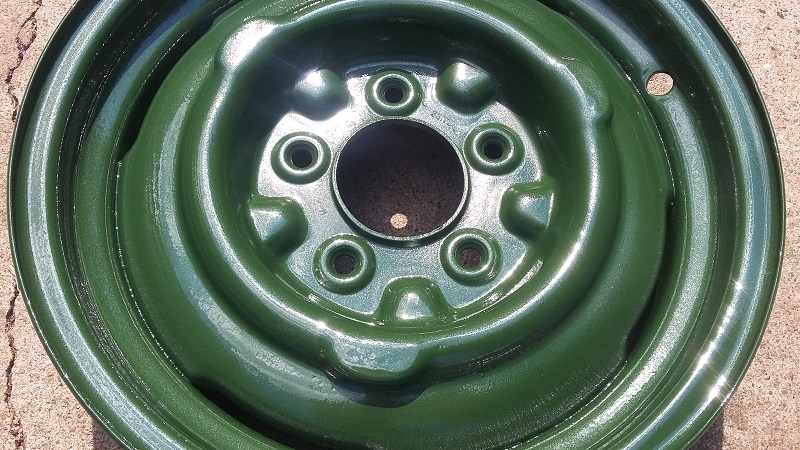
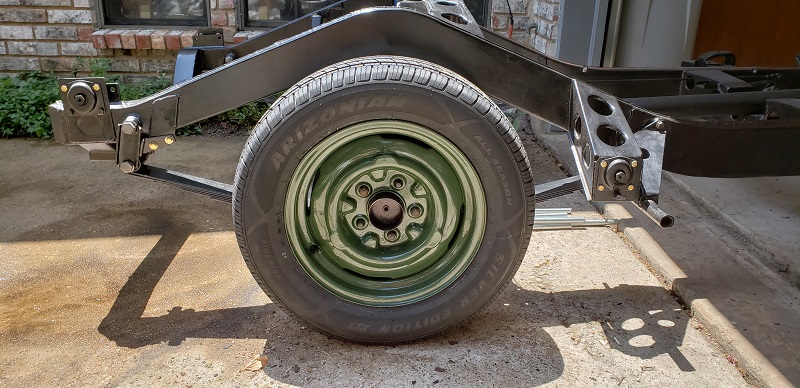
This choice of British Racing Green color turned out very nicely.
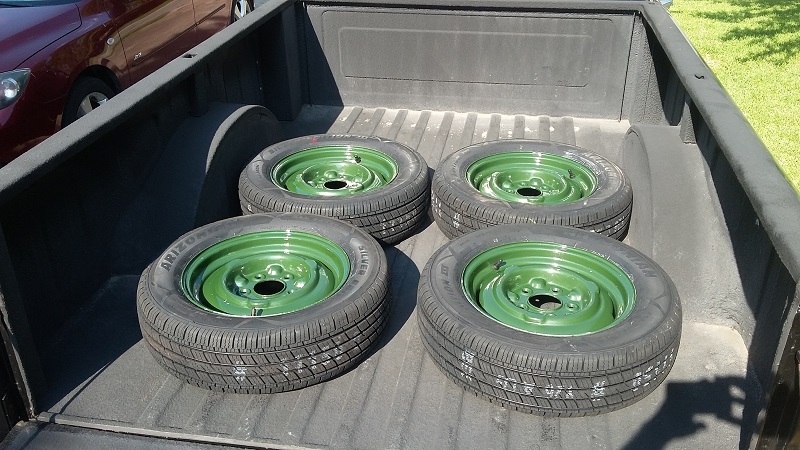
New tires installed! The wheel rims are 15" diameter. The tires that came with this P4 were not even the same size or brand so I selected new tires based on the one that looked most reasonable in size. I use 195/65R15 size, but it is a little on the small side compared to what would have been original to a P4. Any other option was either a special order or ridiculously expensive. 195/65R15 is fairly common and used on many modern cars so it's easy to find.
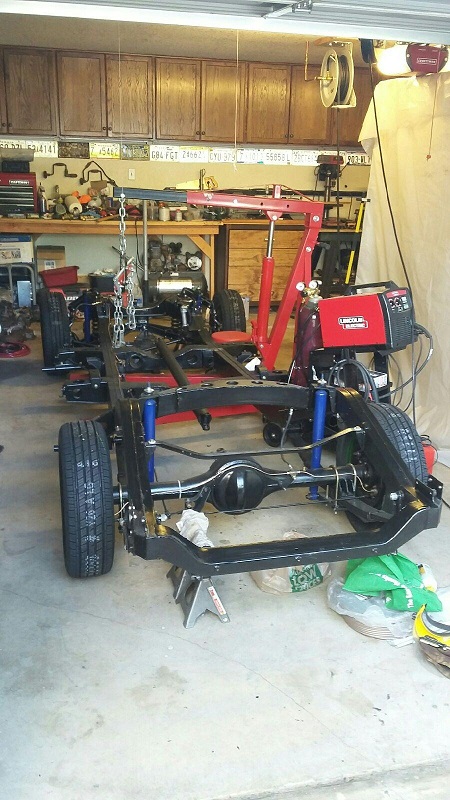
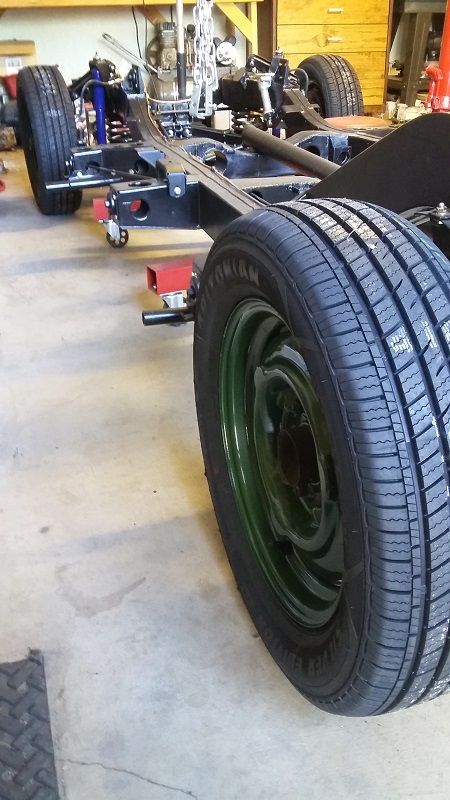
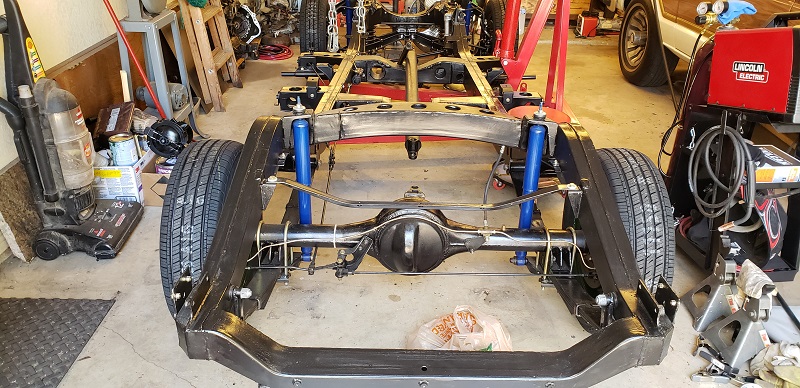
Now we have a rolling frame!
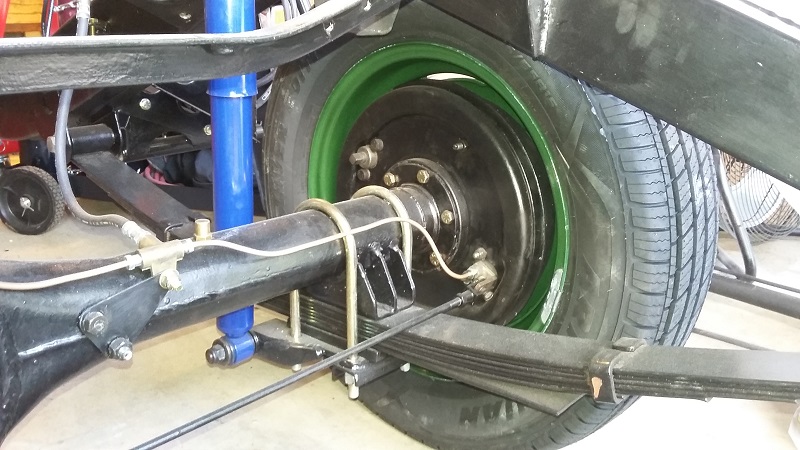
A view of the wheel rims on the inside. The rims were painted inside and out. No skimping there.
