1968 Rover P5B Coupe
October-November 2025 - Body and Paint
Return to Home
Return to Resources
Return to Rover P5B page
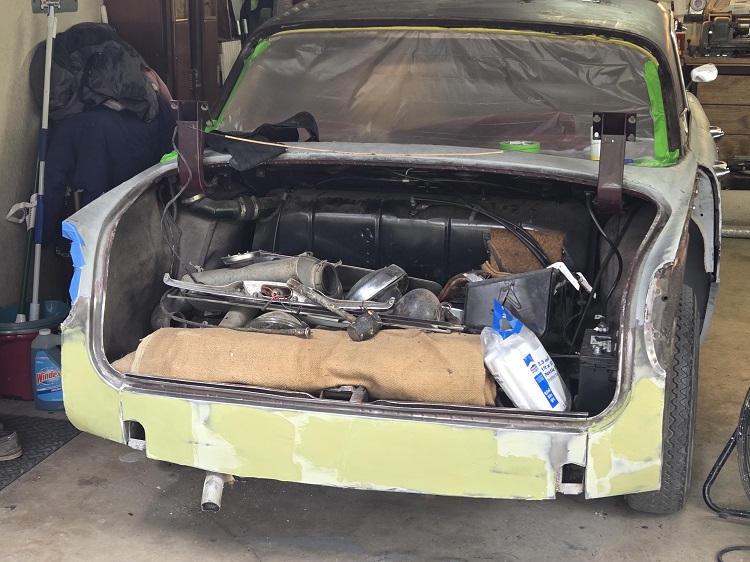
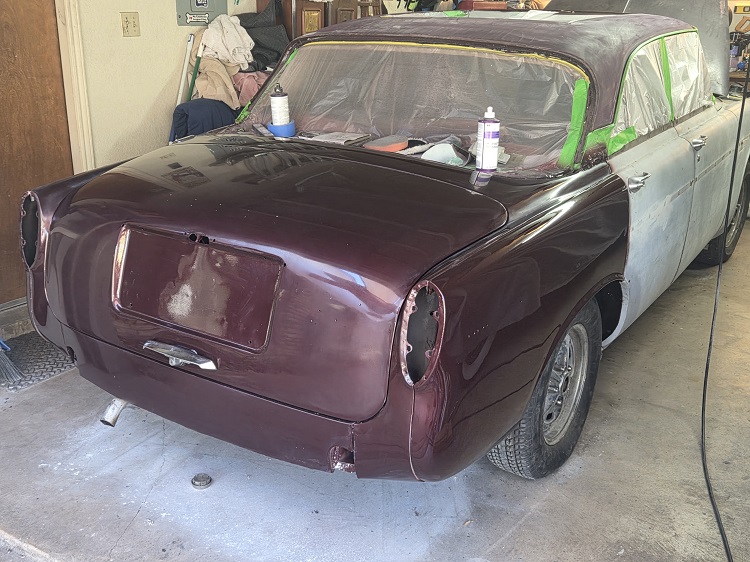
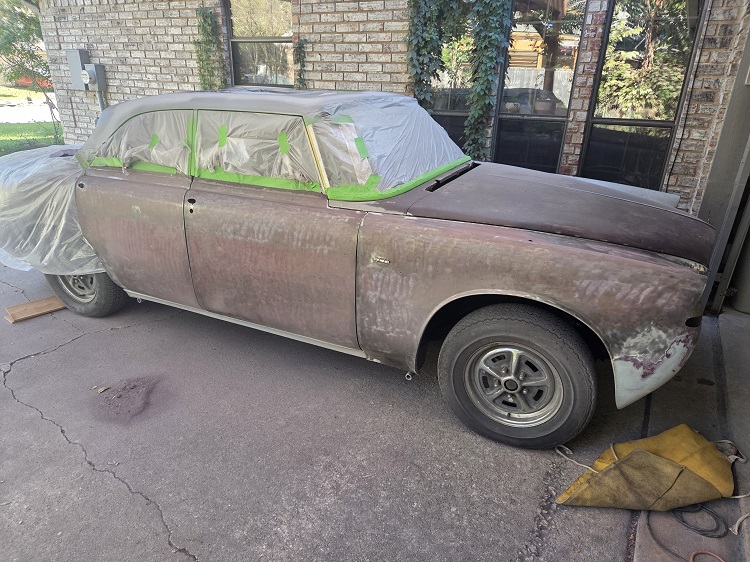
It was finally time to finish the body and paint picking up where the previous owner left off after the rust repairs were completed. I started on the rear first removing the trunk door and rear fenders to assess the state of the paint or primer that they were left in. I saw several rust spots and peels so I decided to play it safe and stripped these three pieces with a wire wheel, wiped clean with wax and grease remover, and then applied epoxy primer/sealer using a HVLP spray gun. There were dents and waves that would require some light body filler and sanding.
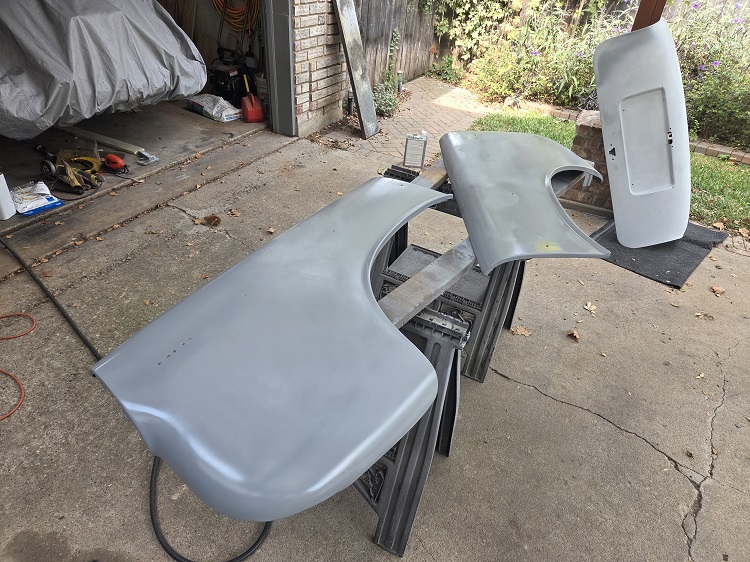
The bottom of the body rear appears to had a substantial portion of the sheet metal cut out and replaced presumably because of rust, so the surface was uneven and wavy, so about 1/8" thick body filler was applied and sanded down with 80 grit until smooth, then epoxy primer/sealer was applied afterwards.
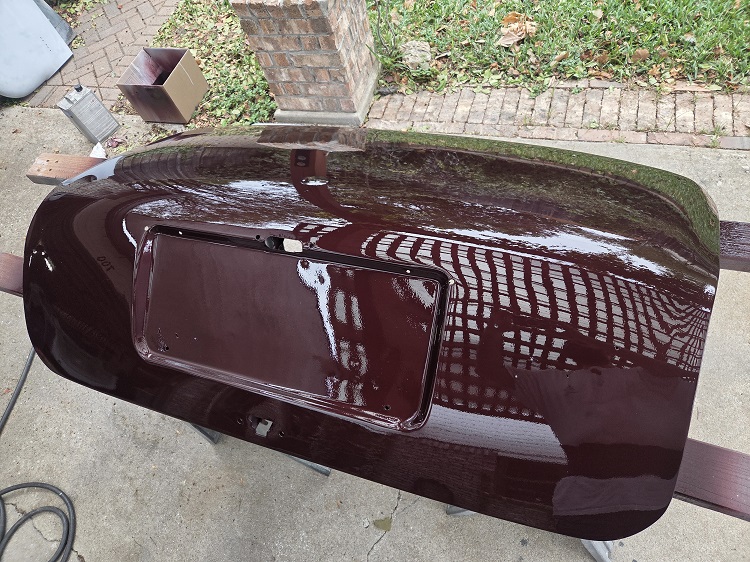
The original Bordeaux Red color code does not have any modern cross references to USA-based paint formulations. There were still portions of the car including the interior of the trunk door that still had the original paint, but I did not like the purple tint. The auto paint store used a camera to computer match to a 1998-99 Toyota 3M6 Burgundy or a late 2000s Chrysler PR8 Deep Molten Red, neither of which I liked because they looked more purple than red. I ended up manually comparing color chips from a 2008 Import paint catalog to the trunk interior and looked up the color online for a reference of how it looked on an entire car. In the end, I chose a 2008 Mercedes Carneolrot Pearl, PPG code 912147, using the two-stage base followed by clear coat. I initially dreaded to do this myself to avoid breaking the bank especially without a paint booth, but I decided after having practiced with painting a few cars up to this point, I was more comfortable with the HVLP gun, air pressure, settings and process. I waited until October-November when the Texas weather was in the perfect 60-70 degree temperature range, no rain and minimal dust/pollen issues to paint outside. The trunk was the first piece to be painted.
The general paint process is to first seal the old paint or bare metal with an epoxy primer/sealer followed by a 2K sandable primer. I like using Transtar 6131 epoxy primer because it is compatible with many old paints and does not cause an adverse chemical reaction. Then I use a rattle can black guide coat spray paint to lightly coat the 2K primer and let that dry before sanding starting at 180, 220, 320, then 400 grit. I do all the sanding dry and wipe off the dust entirely before advancing to the next grit. Any low spots indicated by areas where the black guide coat did not rub off are corrected with a very thin bondo glaze coat (red) or in more extreme cases, the spot is sanded down to bare metal with 80 grit and filled with body filler before repeating the epoxy primer and 2K paint over the repair. I use a long 12" semi-rigid foam block to form the sandpaper around and move in vertical, horizontal, and both diagonal directions to ensure I'm not sanding in a repetitive pattern that would tend to introduce waves to the panel.
After finishing the final 2K sanding at 400 grit and wiping down with wax/grease remover, I applied 3 coats of base. The metallic pearl is tricky to apply right and I say this now because I've had to redo a couple panels by sanding the cured clear coat then reapplying the base and clear on top again. The number of coats is one issue because the paint is not 100% opaque and has some translucency to it requiring many layers to completely hide the primer, but also steady uniform movement of the HVLP gun when applying the paint and going back over the layers consistently is critical in order for the metallic flakes to be applied evenly and uniformly. I'll admit I'm not perfect at this, but I think I did pretty good considering this was a driveway DIY job with outdoor ambient lighting.
After the base coat is applied, the clear coat follows fairly quickly and I applied 2 medium-thick coats of clear. I did not have issues with the paint running because I was careful to use the right reducer or hardener for the given temperature I was painting in. The clear coat still will have some orange peel to it regardless. I initially started sanding the clear coat with 1000 grit, followed by 1500, 2000, 2500, then 3000. I still struggled to remove faint scratches caused by the 1000-1500 and got worried about burning through the clear coat. I decided to skip 1000 and 1500, and start right at 2000, followed by 2500 then 3000 grit. Then the rough, medium and fine series of 3M polishing compounds using a DA polisher. This yielded far better results for flattening the clear coat.
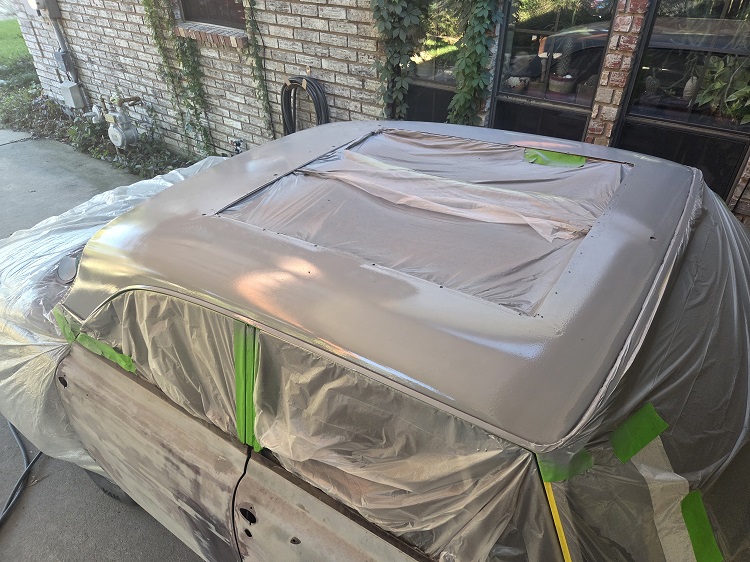
I removed the Webaso-like Wilsons brand Weathershield vinyl sunroof before masking off. There were stress cracks in the sheet metal on the corners that needed to be welded prior to paint. The roof still had the original paint and it appeared to be in good condition without cracks or peels to primer over.
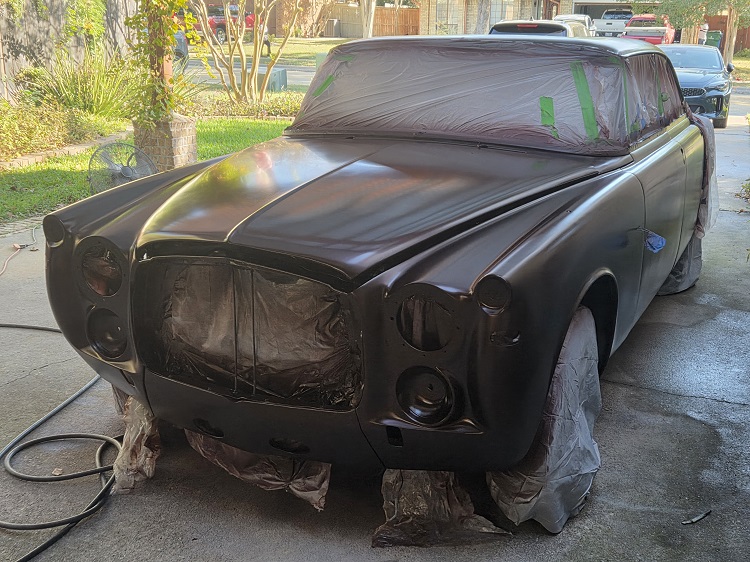
Next was to assess the paint on the rest of the car including the doors, hood and fenders since they were a hodgepodge of original paint, aged or newer primer. I noticed many spots on the doors and front right fender that were in primer and had concerning cracks like below.
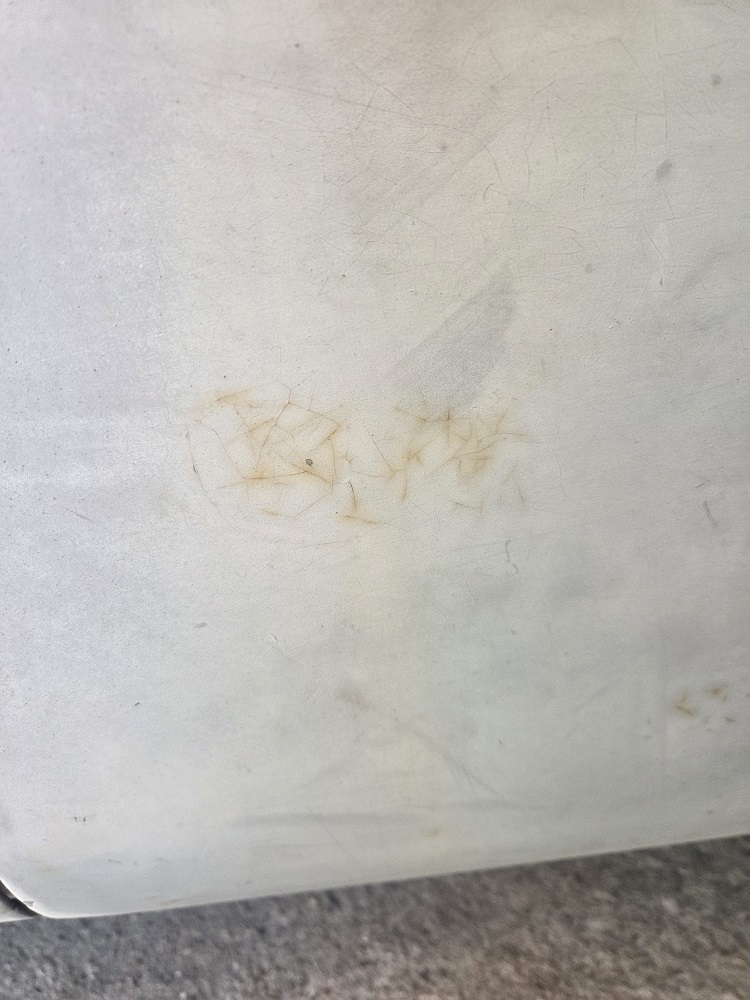
I sanded down the primer to see what was behind it and saw the original paint underneath had cracked. Interestingly, the original paint on the hood did not show any cracks. I suspect this may have been caused by some kind of chemical reaction between the 2K primer that was used on these pieces and the original paint. The epoxy primer/sealer that I use (Transtar 6131) does not cause this issue and is what I use to seal old paint before coating with anything new.
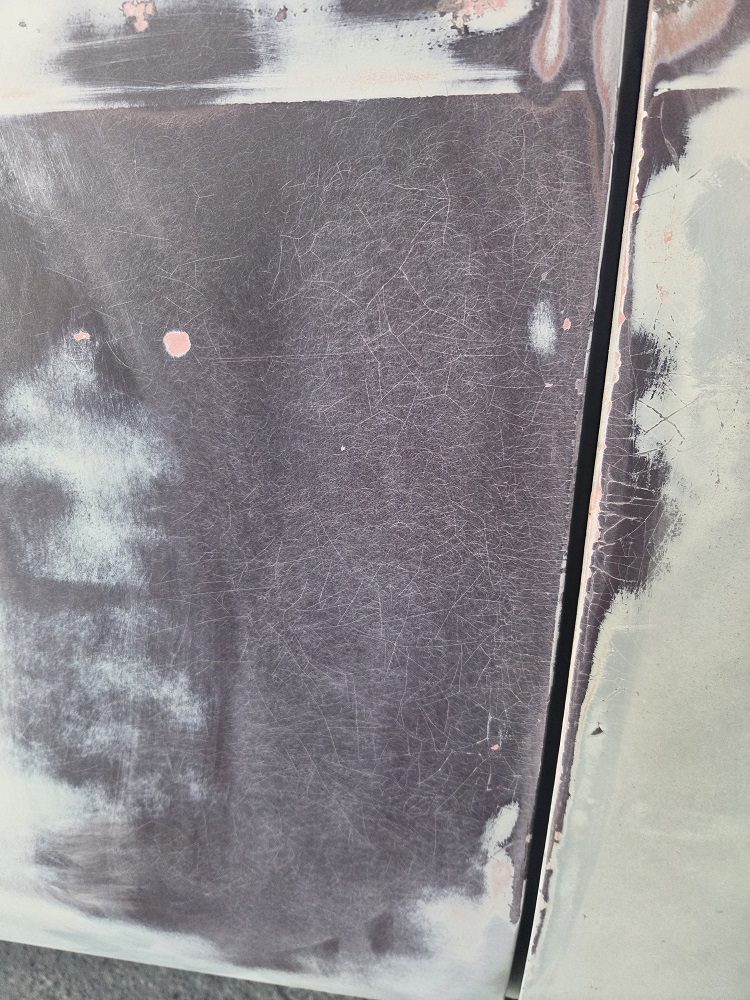
I decided both right doors, right front fender and left front door that were all in this aged primer color all had similar cracks and issues that I went ahead and stripped them all back to bare metal with a wire wheel. This took about 8 hours and 2 wire wheels.
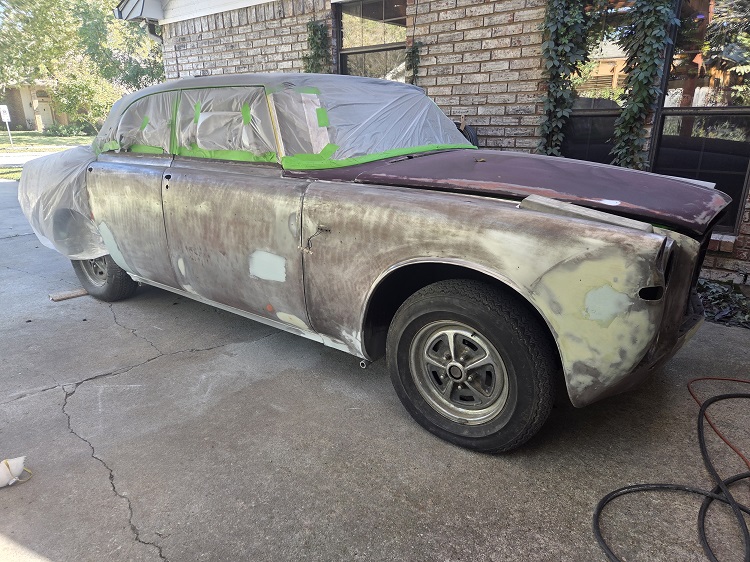
The left front fender was already coated with an epoxy primer that appeared to be in excellent condition. I found a note that Kent hired someone else to repair this fender so I didn't have to worry about stripping it. Likewise, the left rear door had a new skin installed and was left in a white primer that was in good condition. The hood was still in the original color and showed no cracks so I was confident in applying the epoxy primer/sealer over the hood like I did with the roof.
After applying the epoxy primer/sealer over the old paint or bare metal panels, 2K primer was applied and sanded like described earlier. The guide coat helped identify numerous light dents and waves that needed to be corrected with red bondo glaze putty.
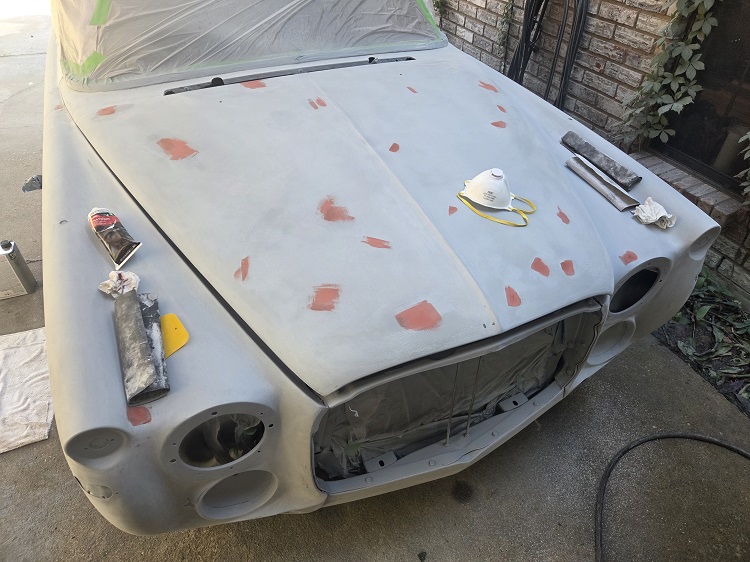
Then another spot coat of 2K primer and sanding over the glazed areas to verify, then finally the base coat and clear coat.
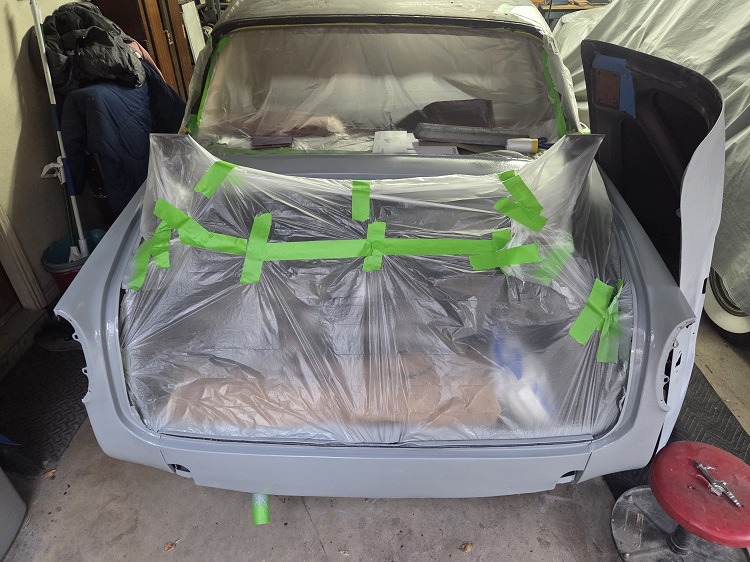
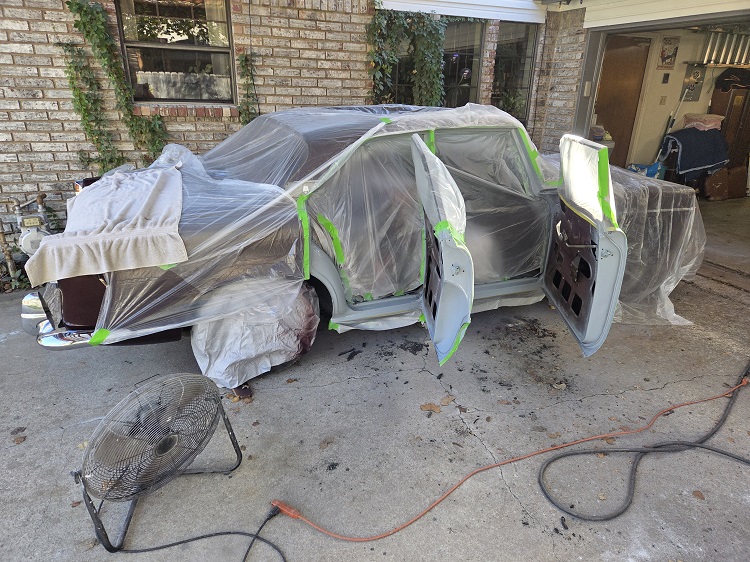
Ideally I would have removed the doors so I could paint the edges, but I did not want to mess with remounting and aligning the doors so this was the tedious process of masking off all the exterior painted areas to paint the edges of the doors and the sills.
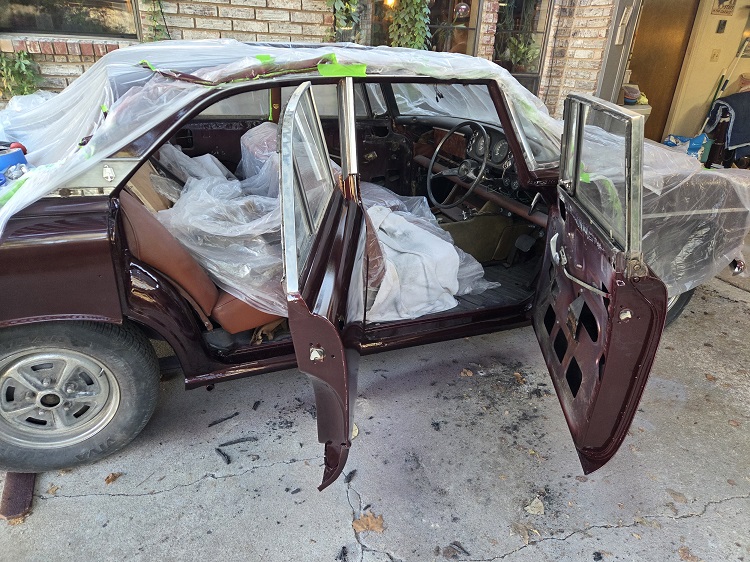
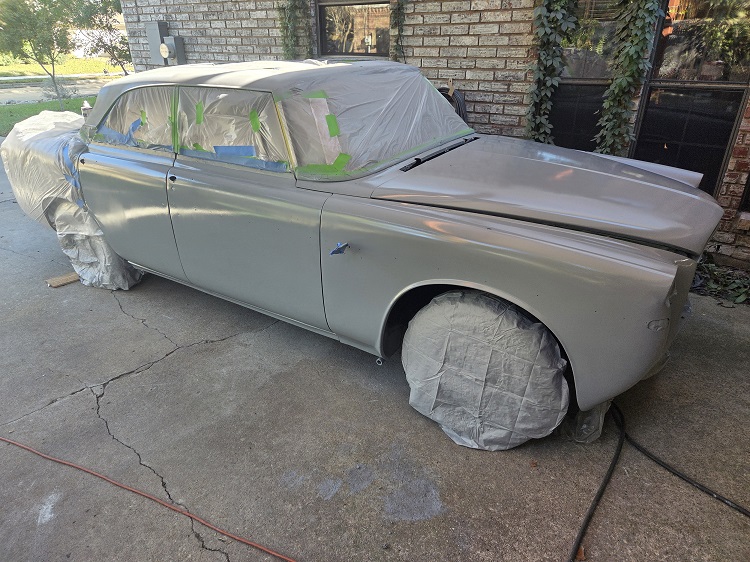
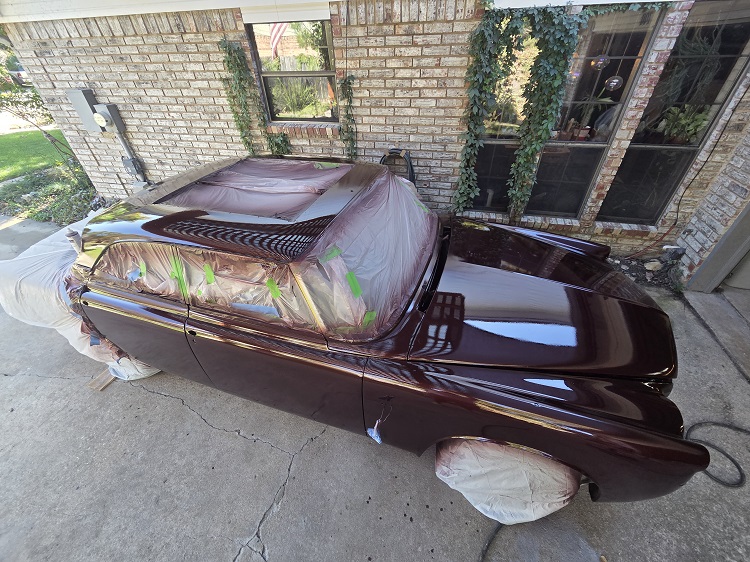
Early glimpse of the entire repainted car with headlights installed.
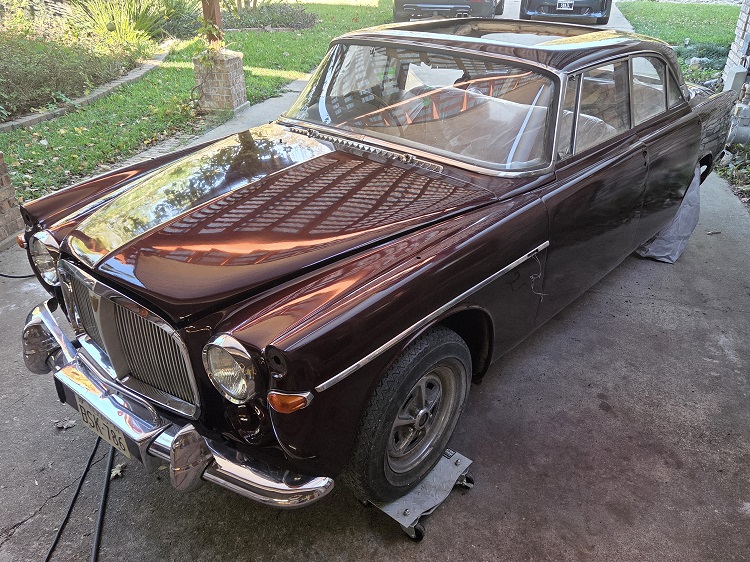
The overall result of the paint exceeded my expectations since the last time I sprayed a 2-stage paint myself was on the first 1953 Rover P4 and that taught me a lot of lessons. I was worried about seeing subtle waves and dents, but was very pleased to see nearly none of that on this Rover so I'll take it for a sub-$1000 driveway paint job. The body work and paint for me took about 3 weeks or ~100 hours of labor. This does not include the extensive hours that the previous owner most likely had put into rust repair and welding.