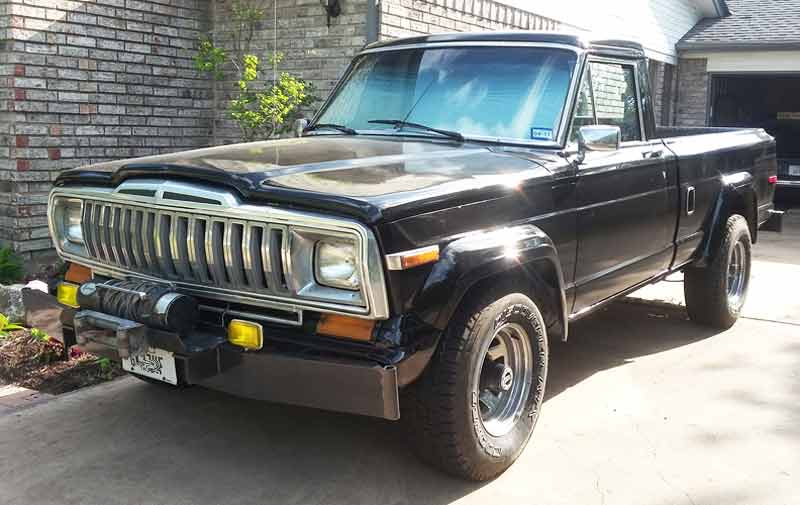
1983 Jeep J10 Cosmetic Restoration
Return to Home
Return to Resources
Return to FSJ Page
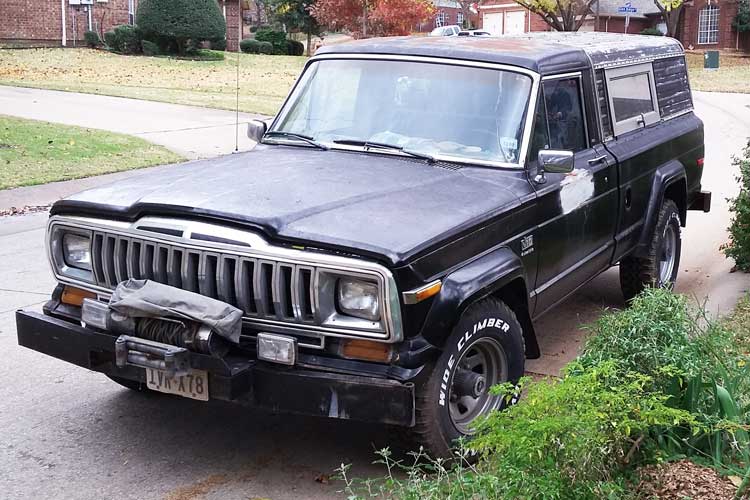
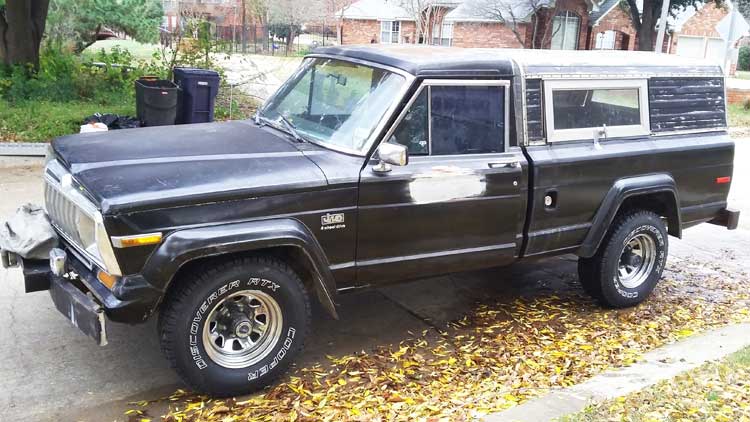
Retired the old tires and fitted with new ones.
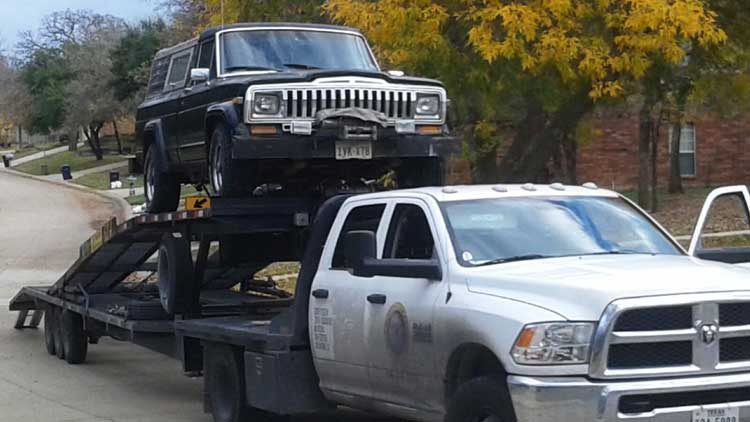
Loaded up and ready for transit from Dallas to Austin.
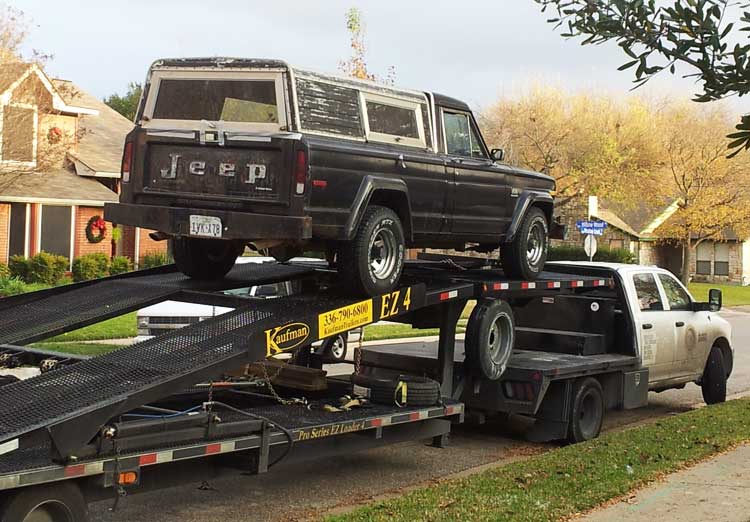
Arrival in Austin and ready for restoration!
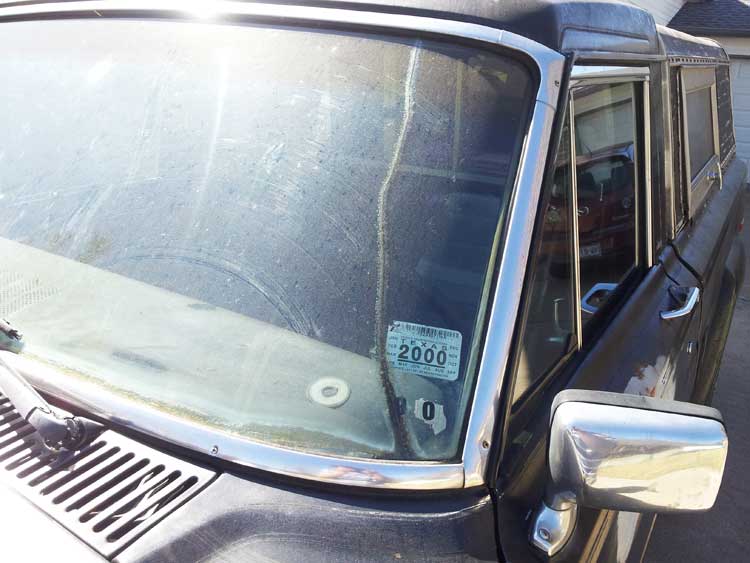
A time capsule with a 16 year old Texas registration sticker still attached.
Interior
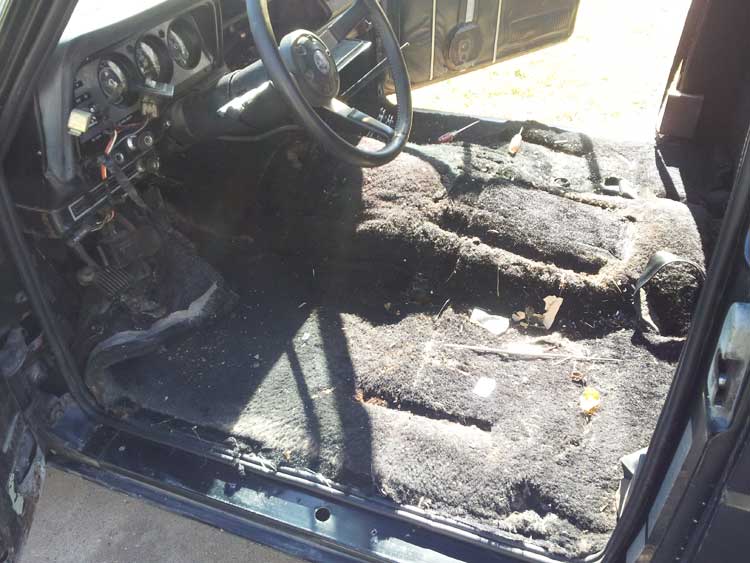
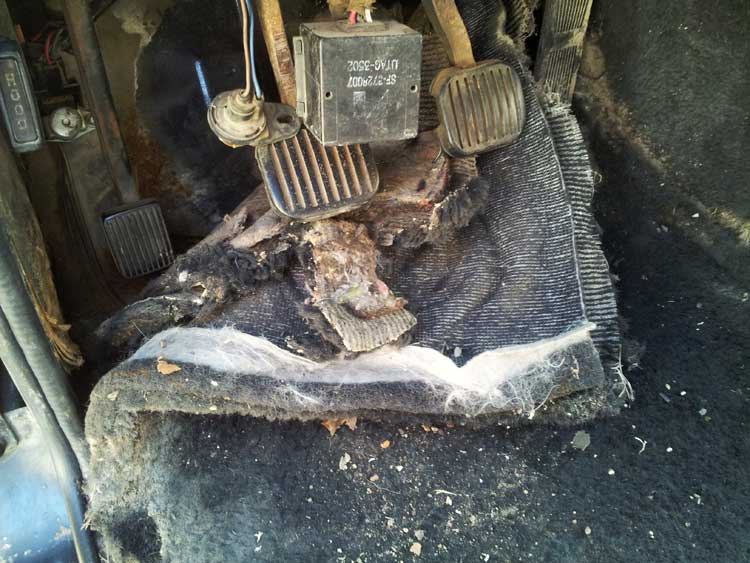
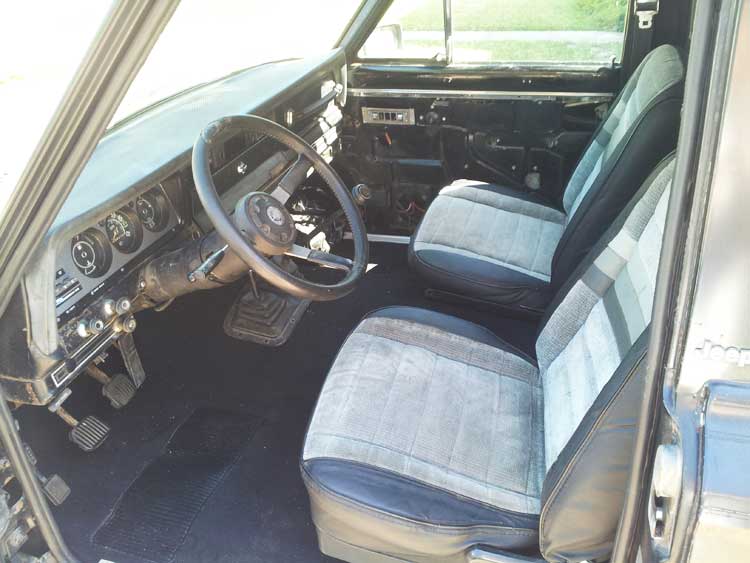
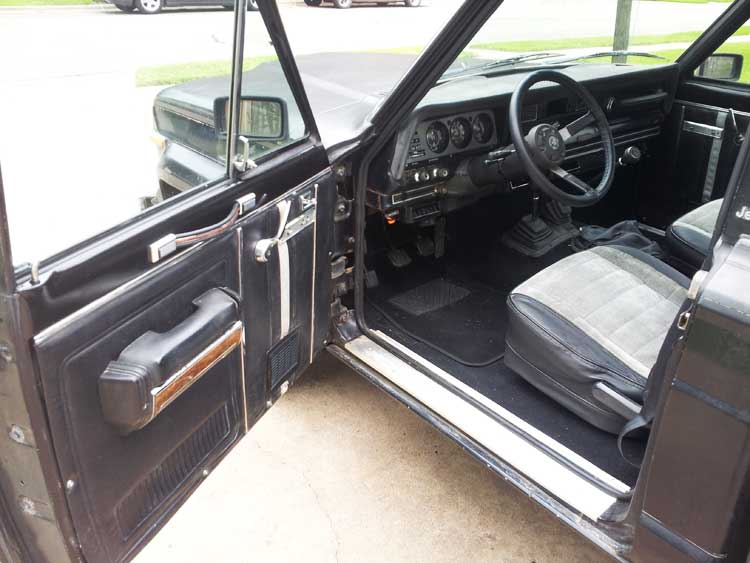
The seats were removed to replace the carpet. The new J10 carpet kit was made by Automotive Custom Carpets and were reasonably priced. The only downside is that the carpet is more like those in modern vehicles unlike the original luxuriously thick shag carpet. The previous owner apparently put two more layers of newer carpeting right over the existing carpet instead of doing a proper reupholstery job.
Exterior
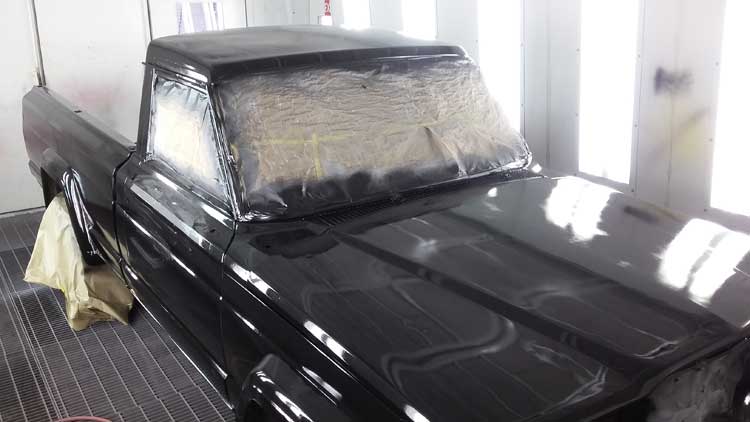
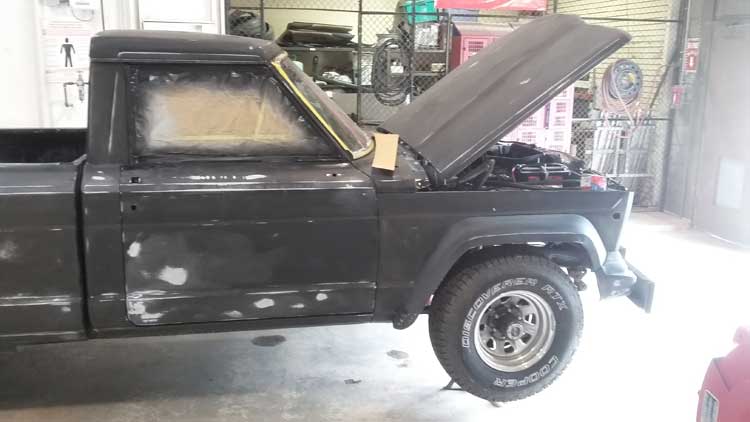
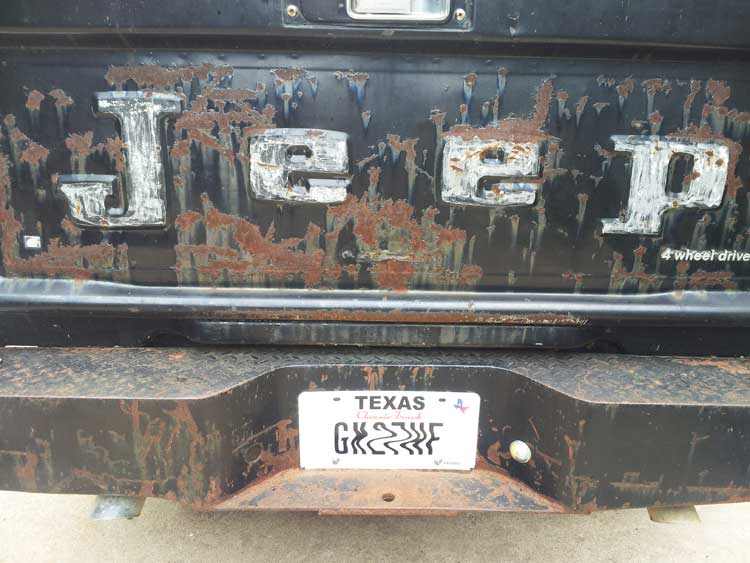
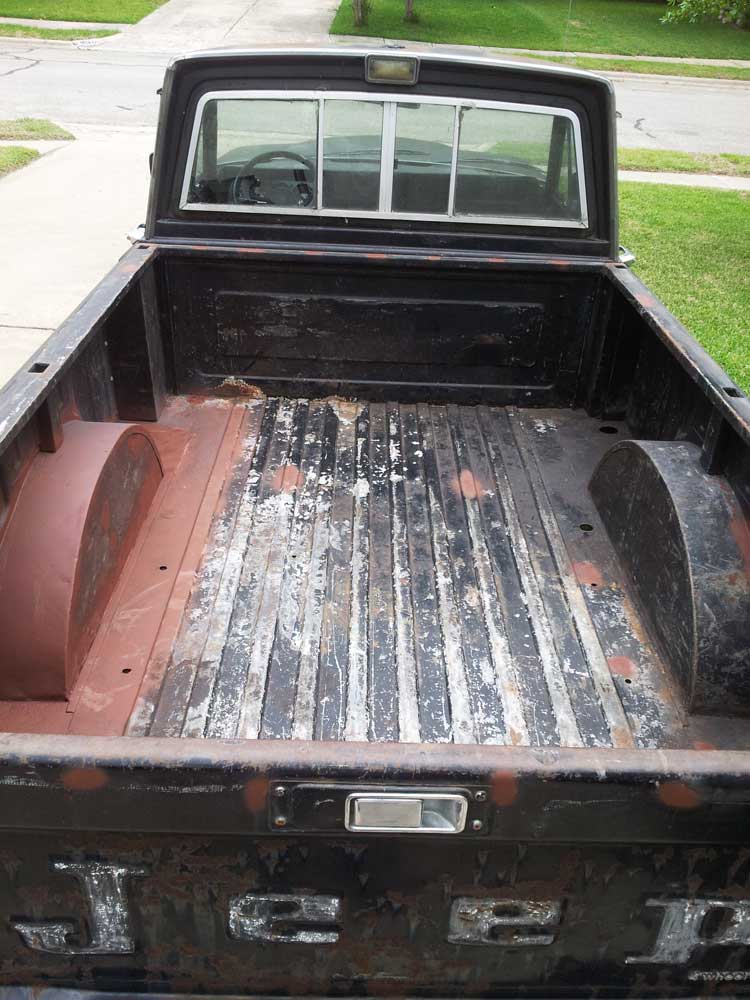
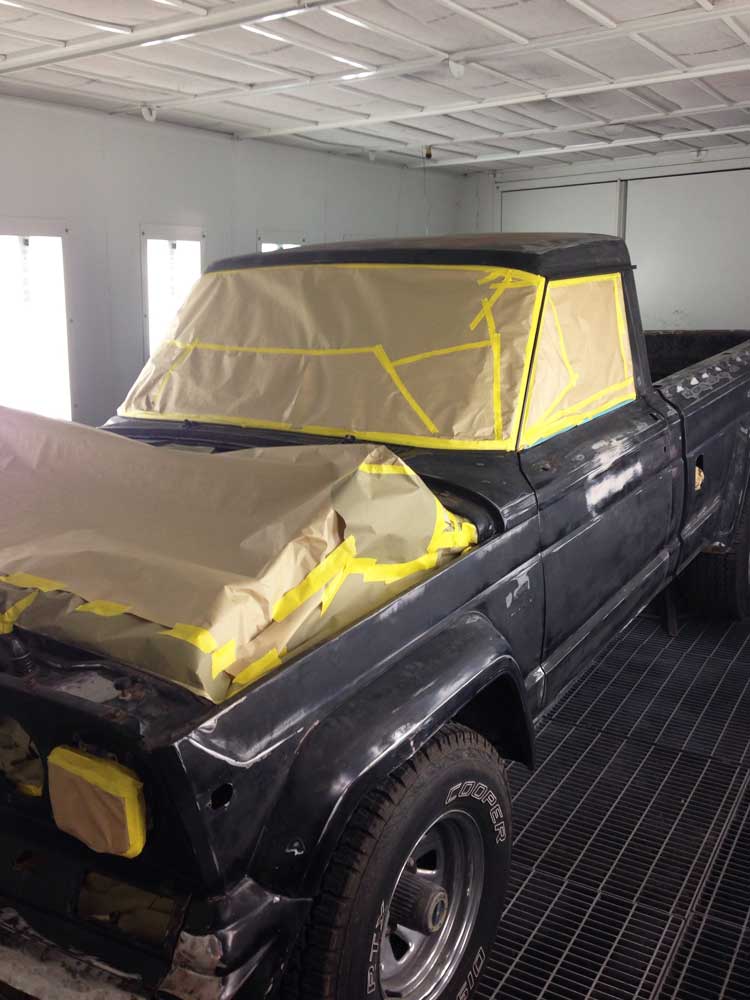
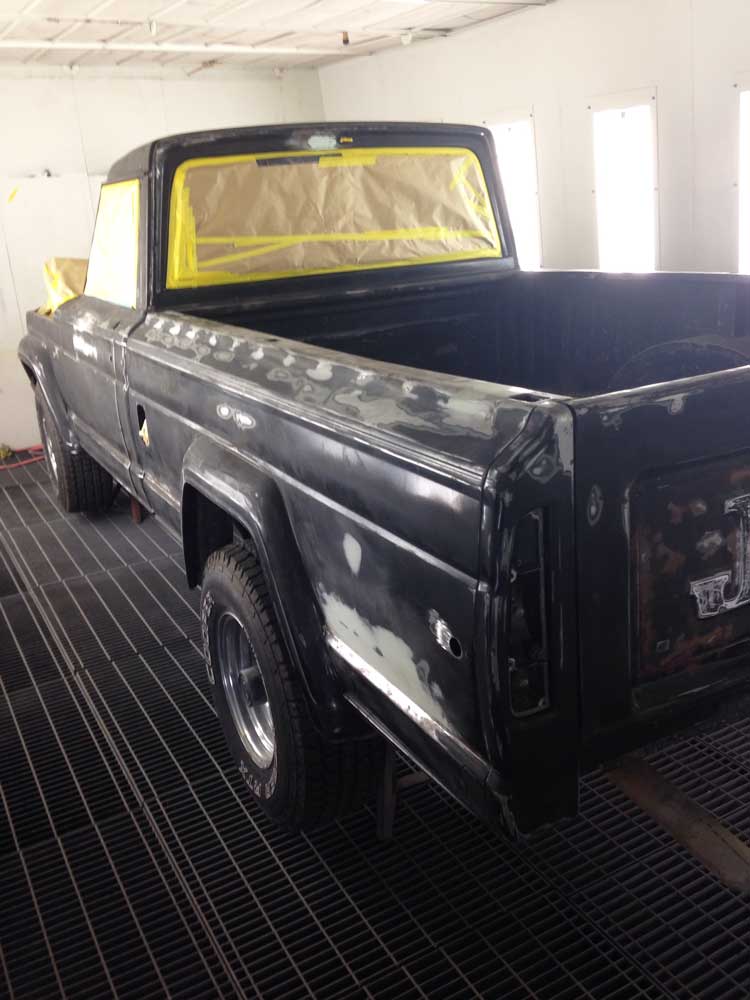
Instead of paying for a professional paint job, I took the chance with a local high school auto body class and let the students use the J10 as a guinea pig for their learning experience. It is a win-win for the students and my wallet, but I had to wait 8 months from start to finish. At least I had no shortage of vehicles and was in no hurry to have the truck back because I wanted the students to take the time to perform a good quality paint job.The first step was to cut out all the rust holes and patch with new sheet metal, weld and fill in with very thin layers of body filler. Using thick amounts of body filler is a poor and short lived solution. I have seen vehicles with body filler thicker than 0.25" that just fell right off after about a year. Definitely want to avoid cutting corners with body filler or the entire paint job is a waste of time. As they say, most of the time and work goes into preparation, not the paint. The J10 largely had surface rust and did not require a lot of repair. There was a hole on the cab roof that the previous owner had drilled out for a CB radio antenna at one time but plugged it with a dab of roofing tar. The worst rust area was on the rear bed fender that was cut out and replaced as seen in the second photo. The rest of the body was sanded down with 120 grit sand paper to rough up the old paint to prepare for primer.
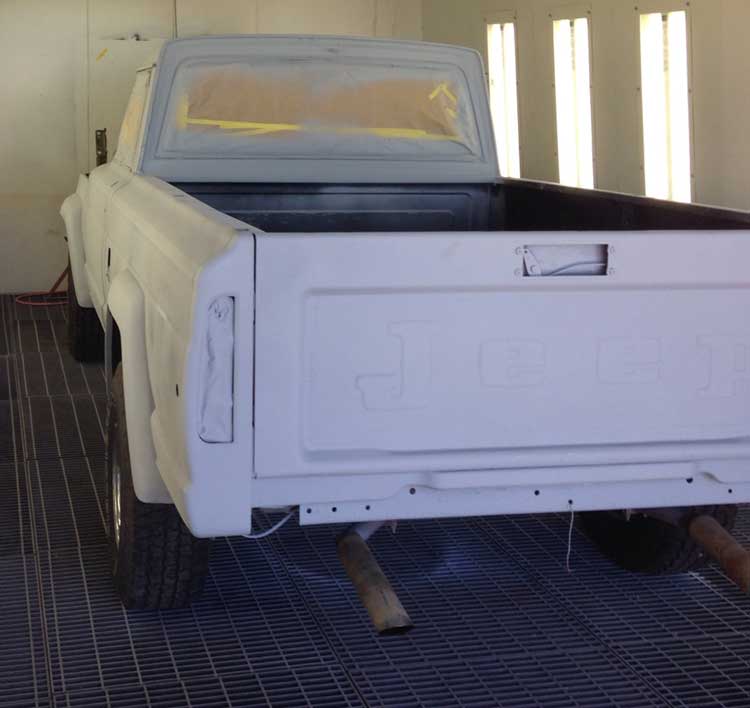
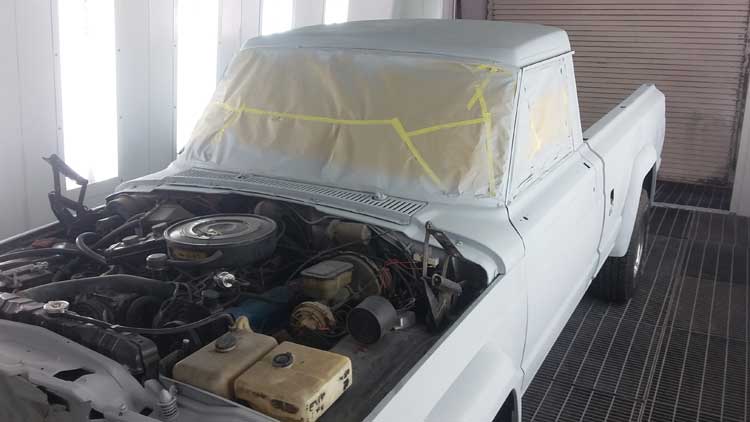
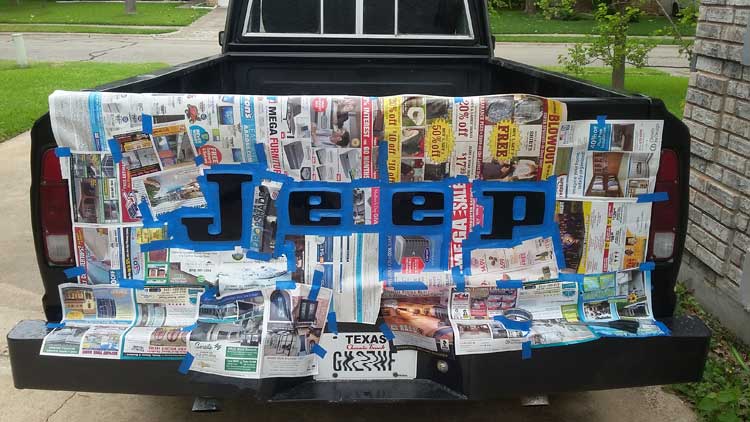
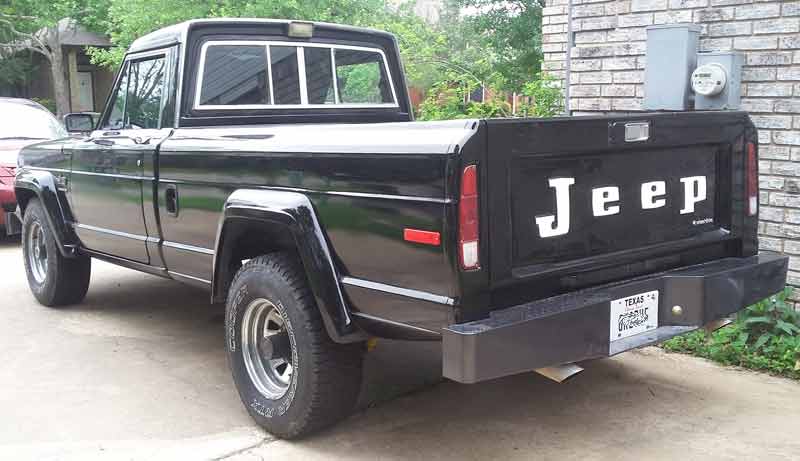
The paint product was a ShopLine JAU-A single stage urethane. The entire body not including the bed was applied using 1 gallon of Jet Black, which is the modern equivalent of the original 1983 AMC Jeep black paint color code 9000/9300. The bumpers were black and not original so I had the freedom to choose a color that I thought would provide some subtle contrast from the body. I chose a 2014 Toyota Knights Armor color code 926173 and a quart was enough for both front and rear bumpers. The paint was applied in 3 coats with wet sanding in between.
