1940 Buick 51
November 2021 - Engine clean up and paint
Return to Home
Return to Resources
Return to Buick 51 page
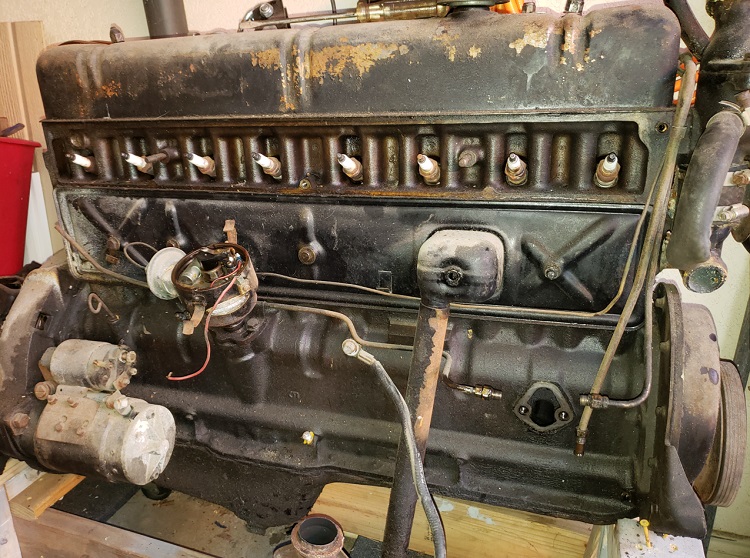
Before removing the engine from the car, I had started the engine up and it seemed to run well enough to not need a rebuild. So the main focus with the engine is a much easier clean up for repaint and replace seals.
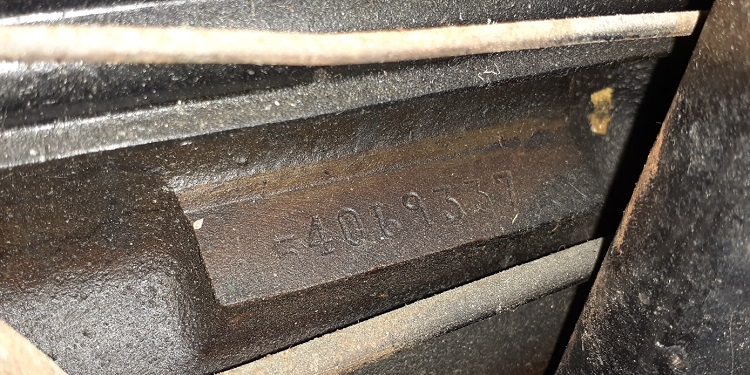
Before spending time on the engine, I wanted to verify the engine serial number 54069337 was correct for this 50-series Buick. The serial number is stamped on the block on the right side near the distributor. The first digit 5 is for a 50-series followed by the engine number 4,069,337. The expected 1940 engine number range is 3,786,214 (first 1940) to 4,074,859 (first 1941) so this engine was near the end of 1940 production and matches the car. It is not uncommon for the engine to have been replaced with another from a different series or even year Buick but fortunately I have the correct original engine that evidently was repainted black at one time.
Starter Motor Rebuild
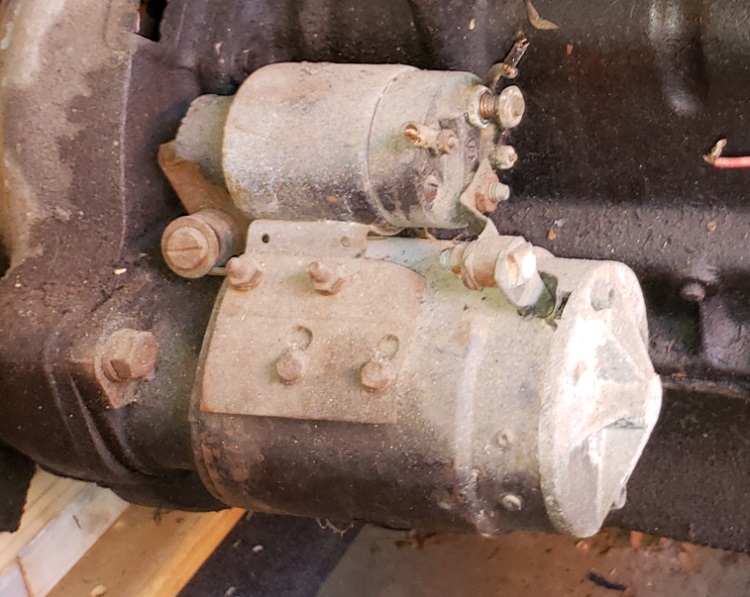
The starter motor was converted to 12 volts and appears to have been a mismash of parts to accomplish the conversion.
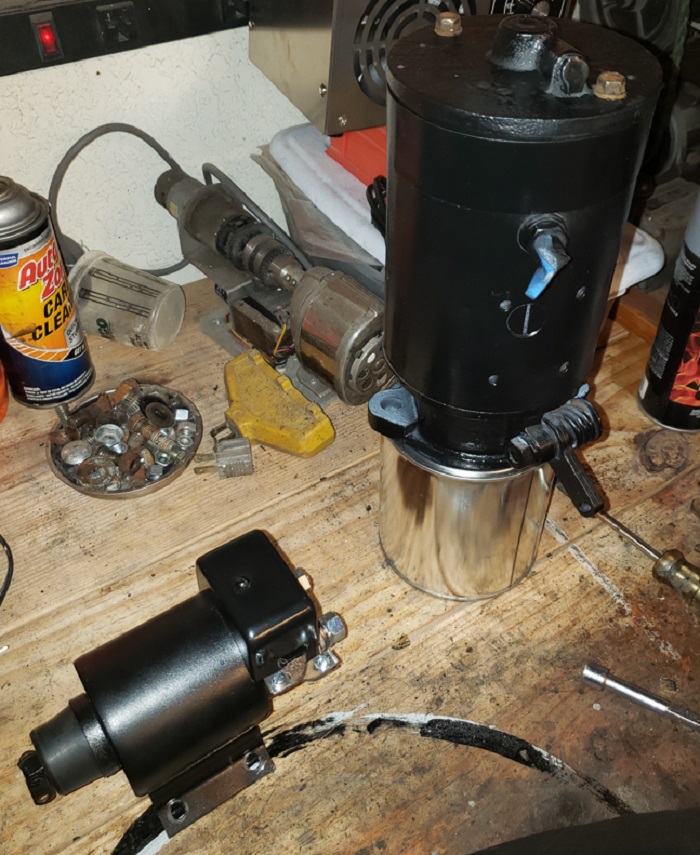
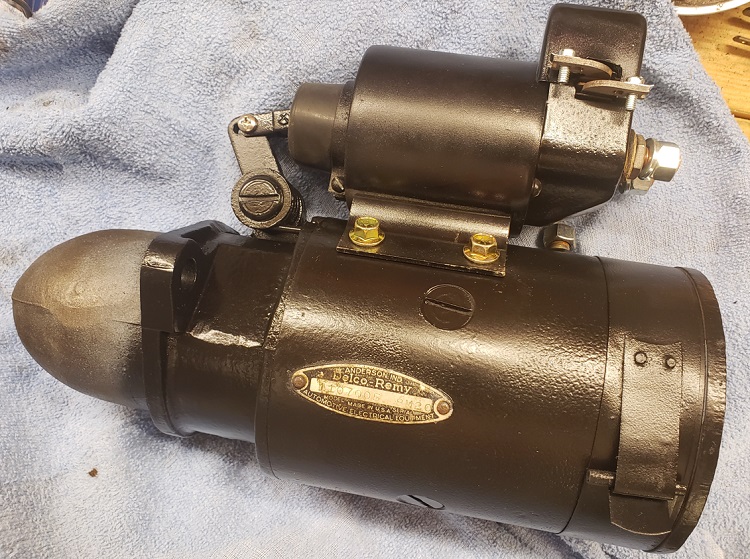
One of the interesting challenges with prewar cars is searching for correct original parts and rebuilding what you have. It turns out I already had half the original 6 volt starter; the drive gear housing and armature (part number 1867897) were correct to this 1940 Buick 51. The housing was swapped with a 12 volt version with 4 field coils instead of the original 2 field coil 6 volt setup. The original starter for a 1940 50-series Buick is a Delco Remy 1107005 with a very hard to find 1542 solenoid. I repainted and rebuilt the starter to revert it back to the original 6 volt configuration.
Engine Repaint
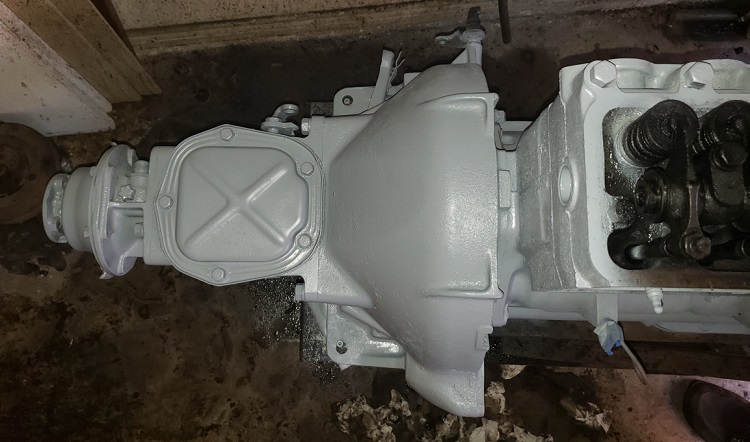
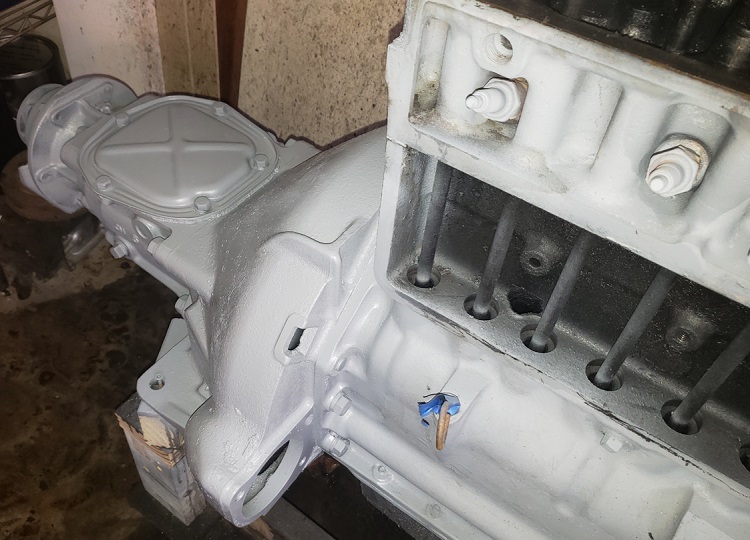
The engine block was stripped of all accessories, degreased and cleaned by hand with a toothbrush and towels. Then an engine enamel primer was applied to the bare metal engine block.
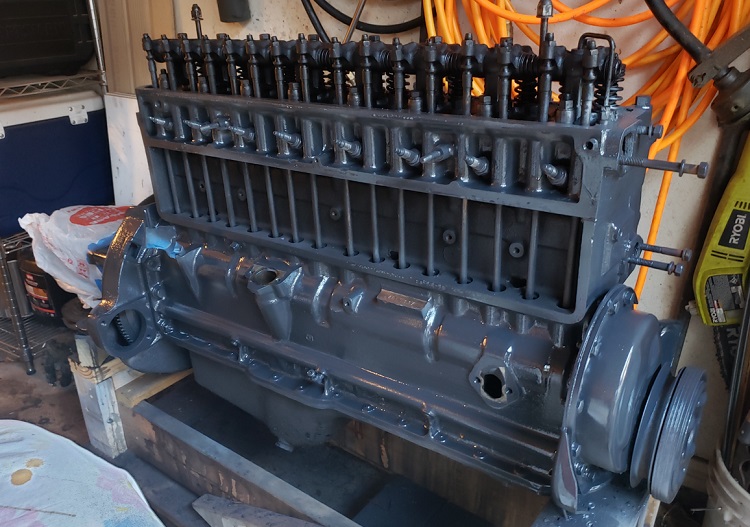
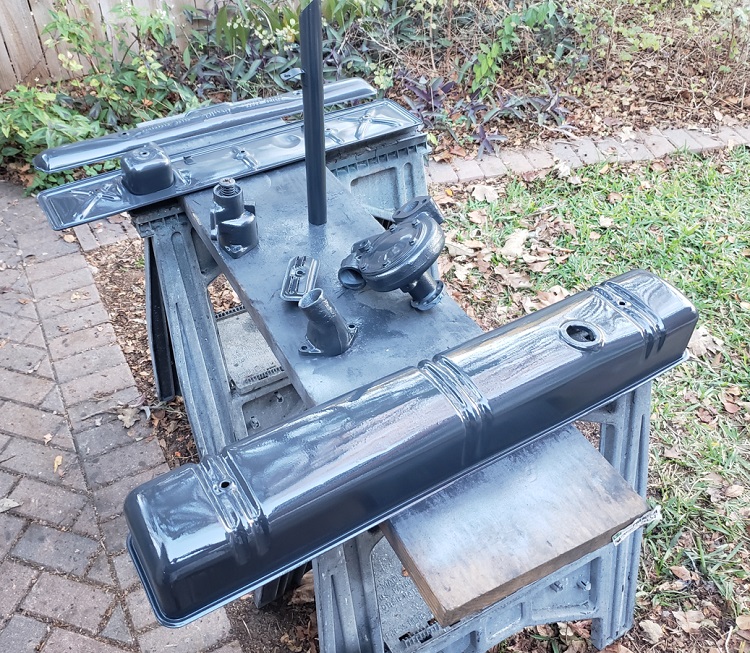
The correct original color for a 1940 Buick engine is Charcoal Gray. I used a quart of Bill Hirsch engine enamel paint already mixed to the correct color and sprayed three coats of paint with an ordinary HVLP sprayer.
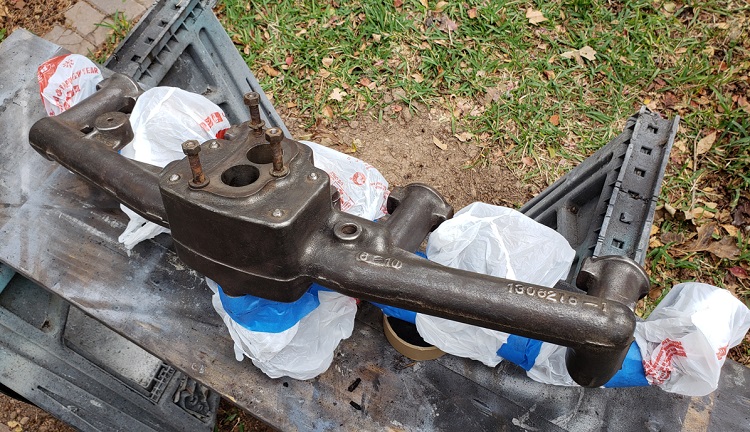
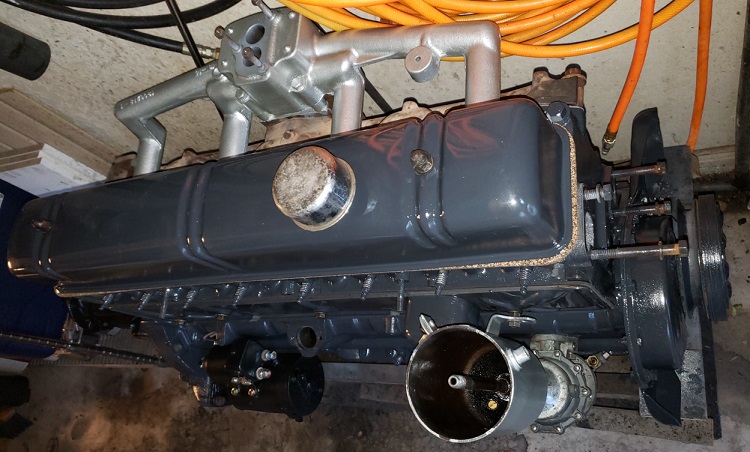
I believe the intake manifold was originally painted the same as the engine block, but I opted for a silver engine enamel to provide some contrast. The exhaust manifold was masked off and not painted because originally they were unpainted bare metal from the factory.
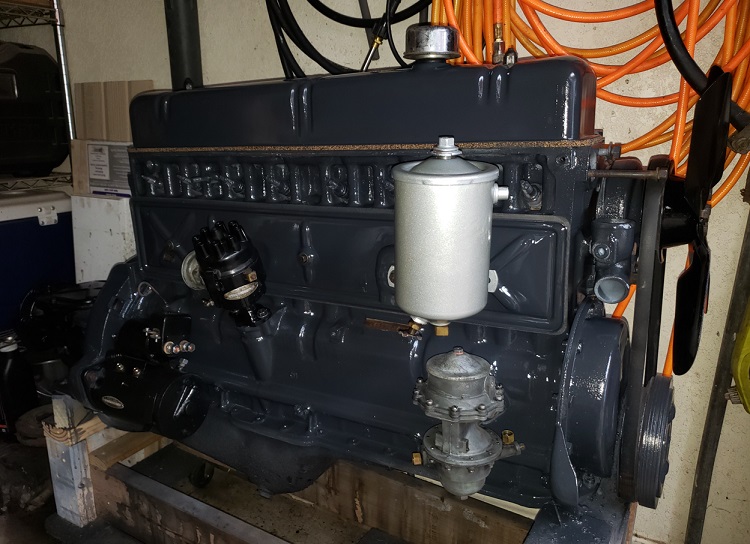
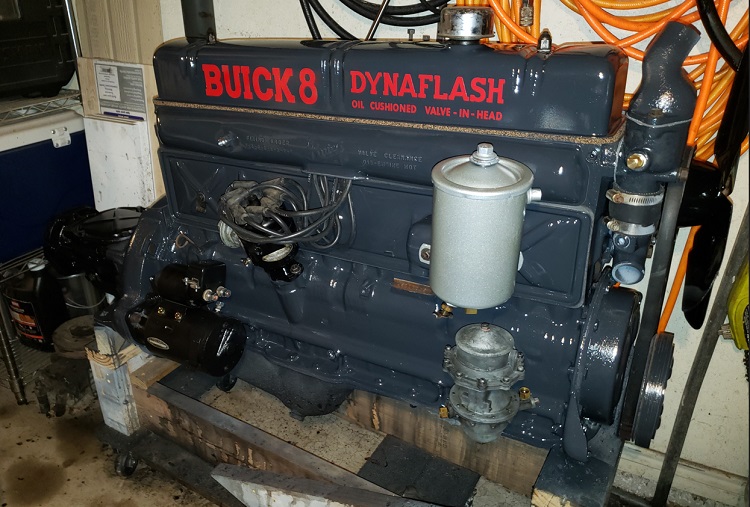
Partial reassembly of engine accessories and applied a new engine decal kit from Bob's Automobilia. The water pump, believe it or not, could still be purchased brand new and was painted before installation on the block rather than refurbishing the original pump.
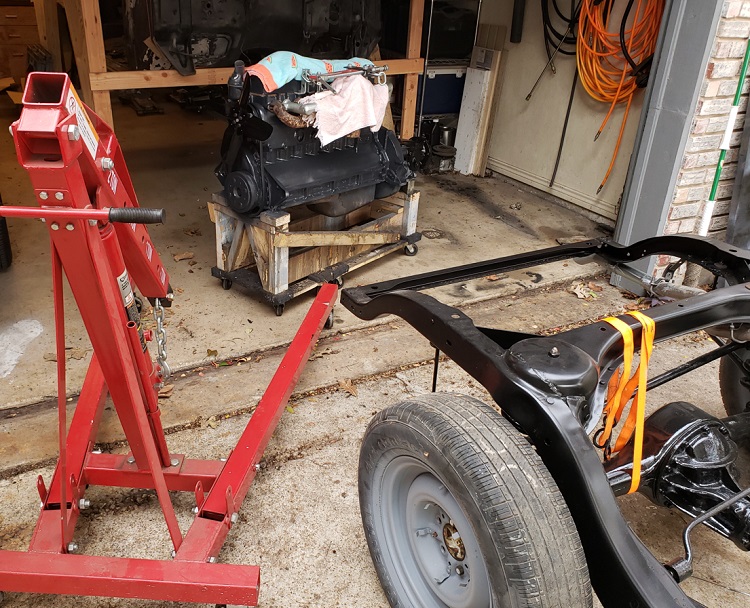
Engine ready to be reinstalled on the car frame. Note that I did not strip or repaint the oil pan because it is inaccessible while the engine was on the stand, but the oil pan will be removed and repainted after the engine is back on the frame.